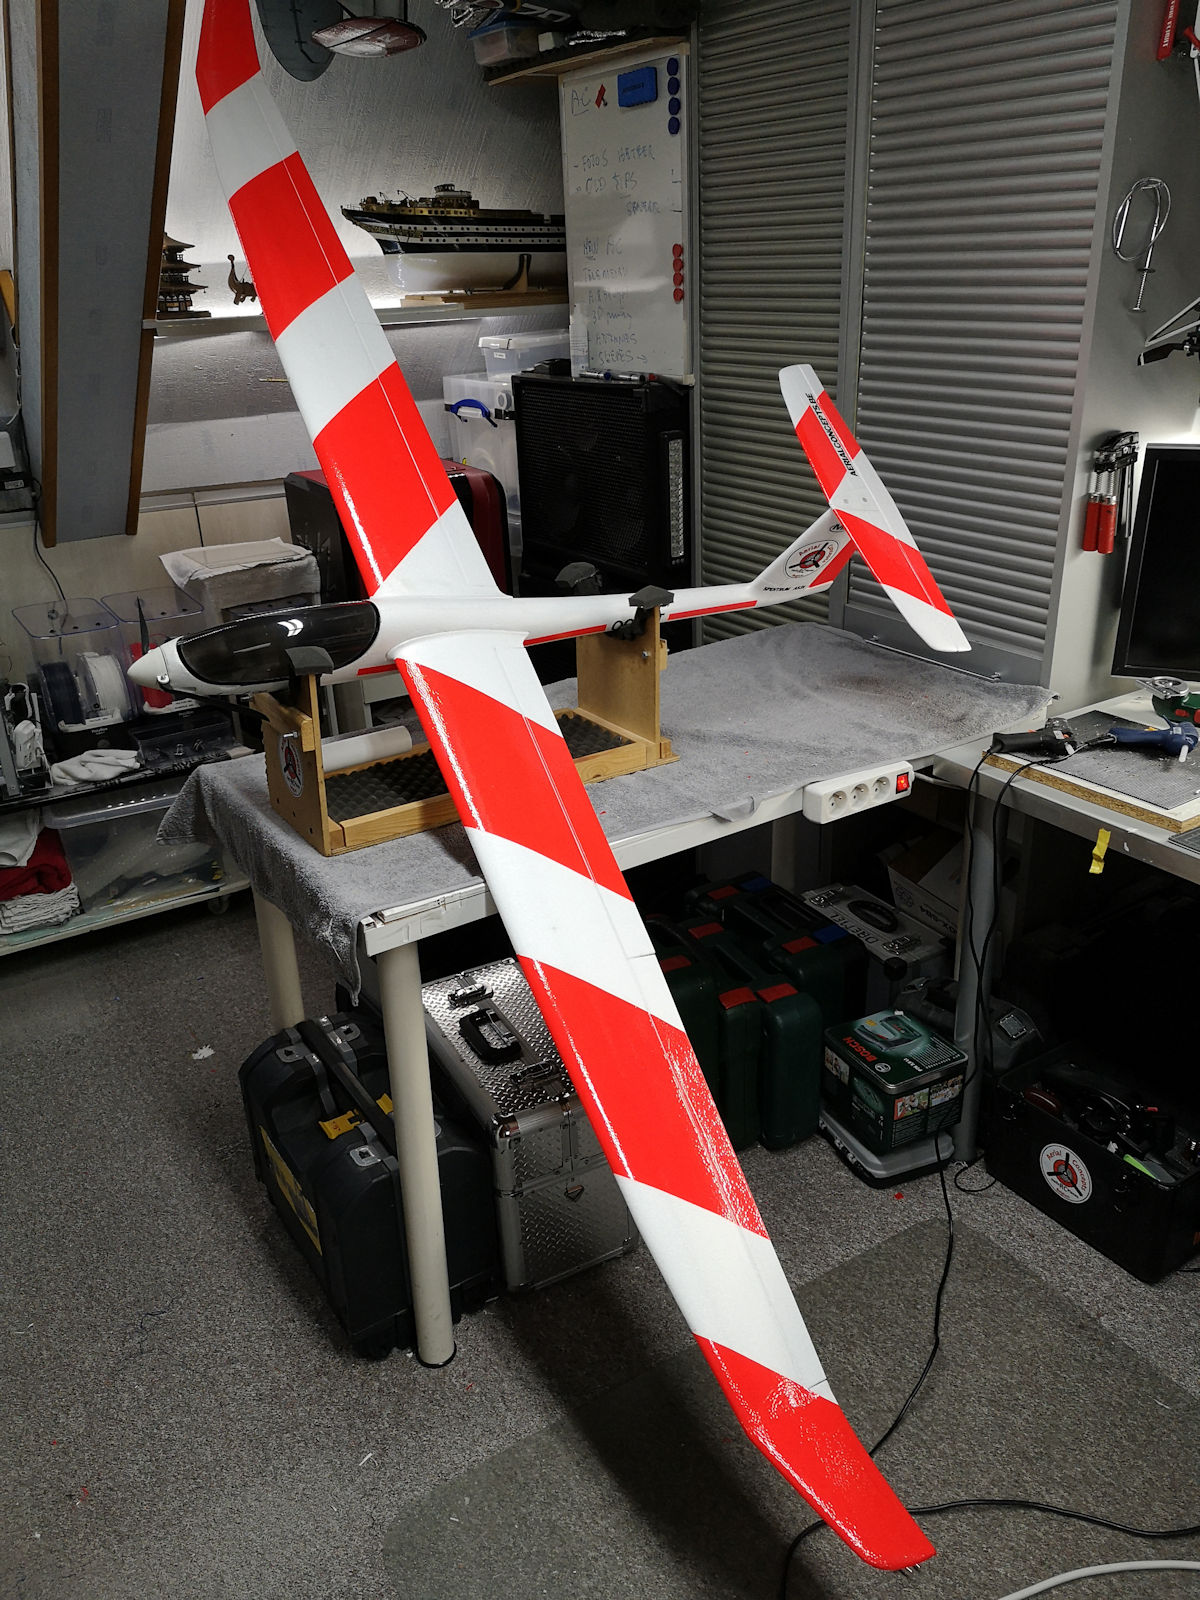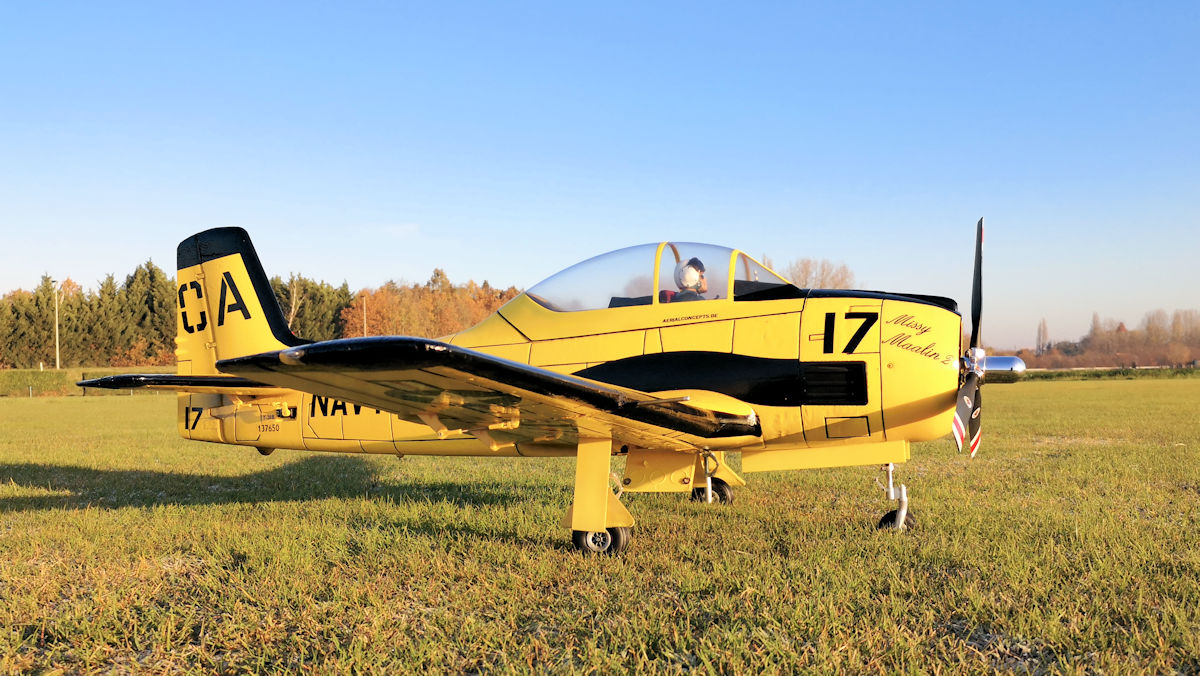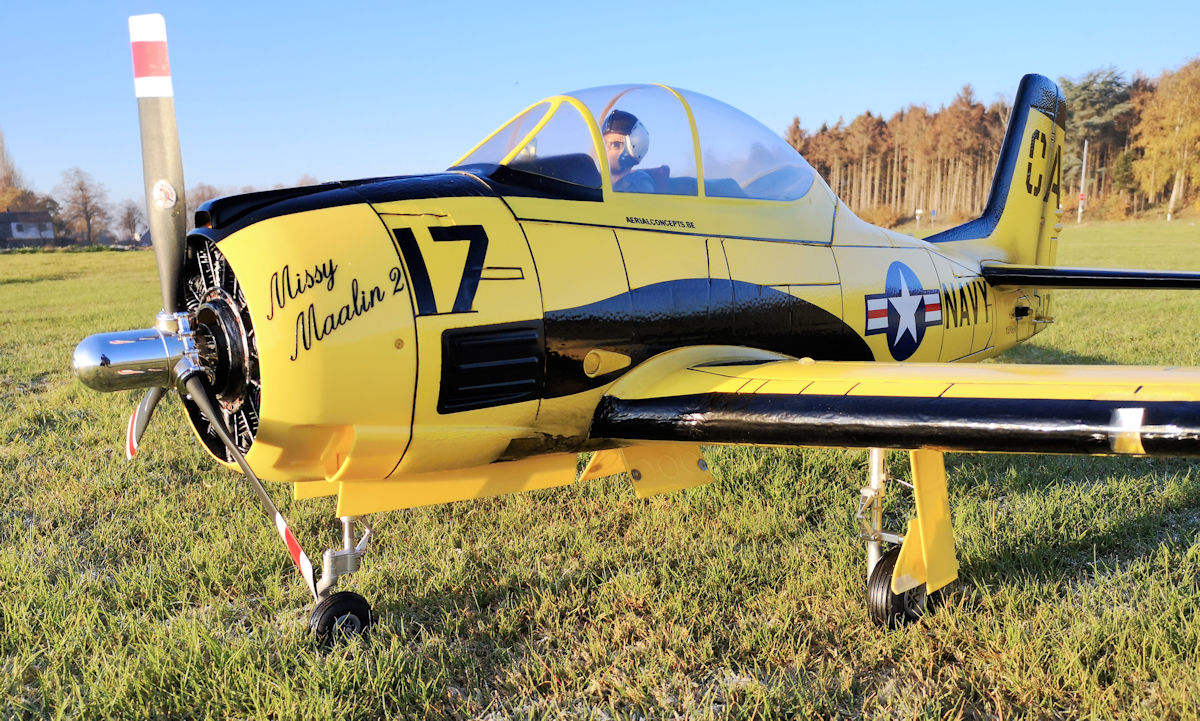

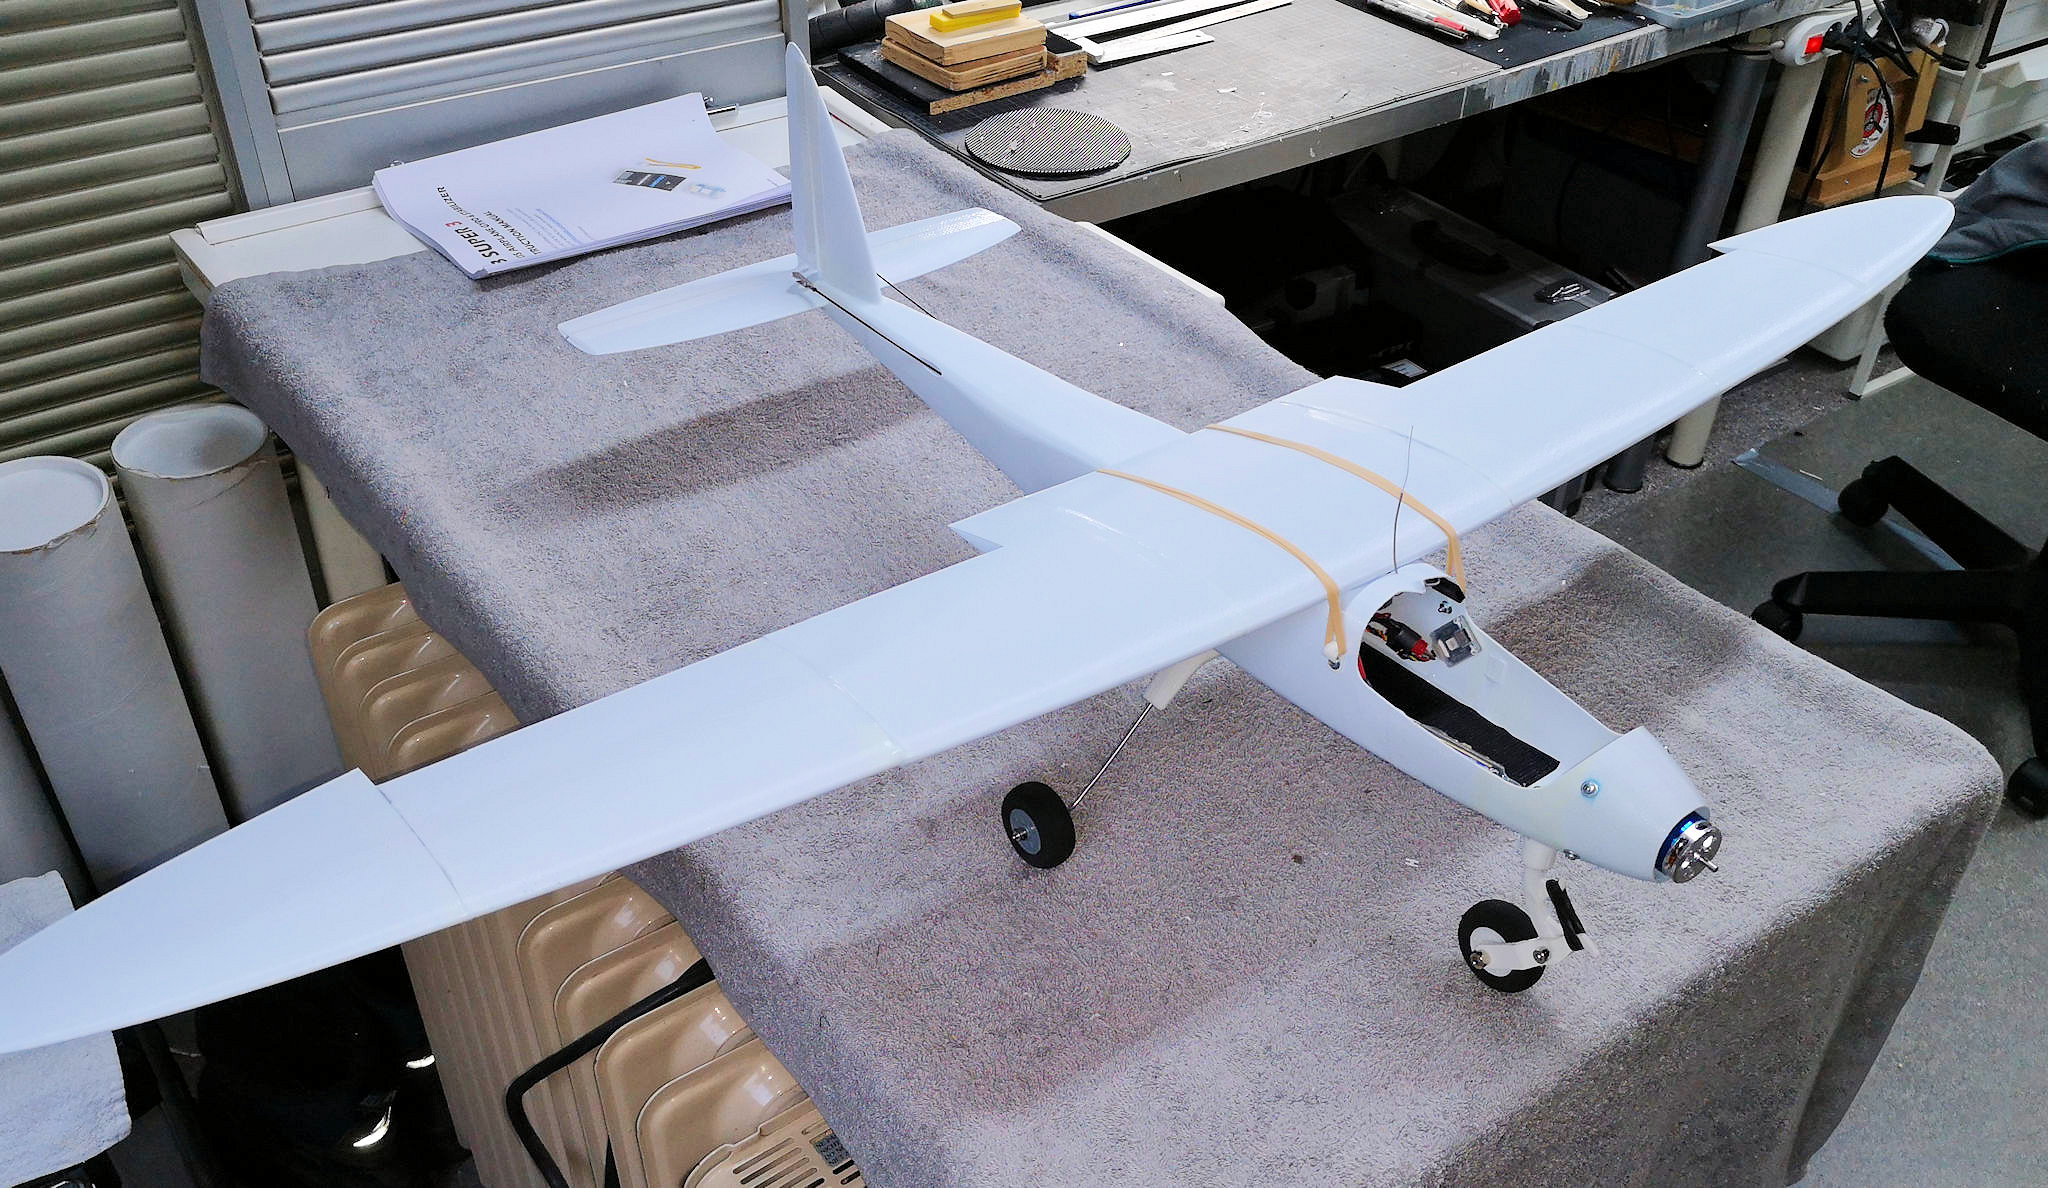
Printing the Eclipson Model Y
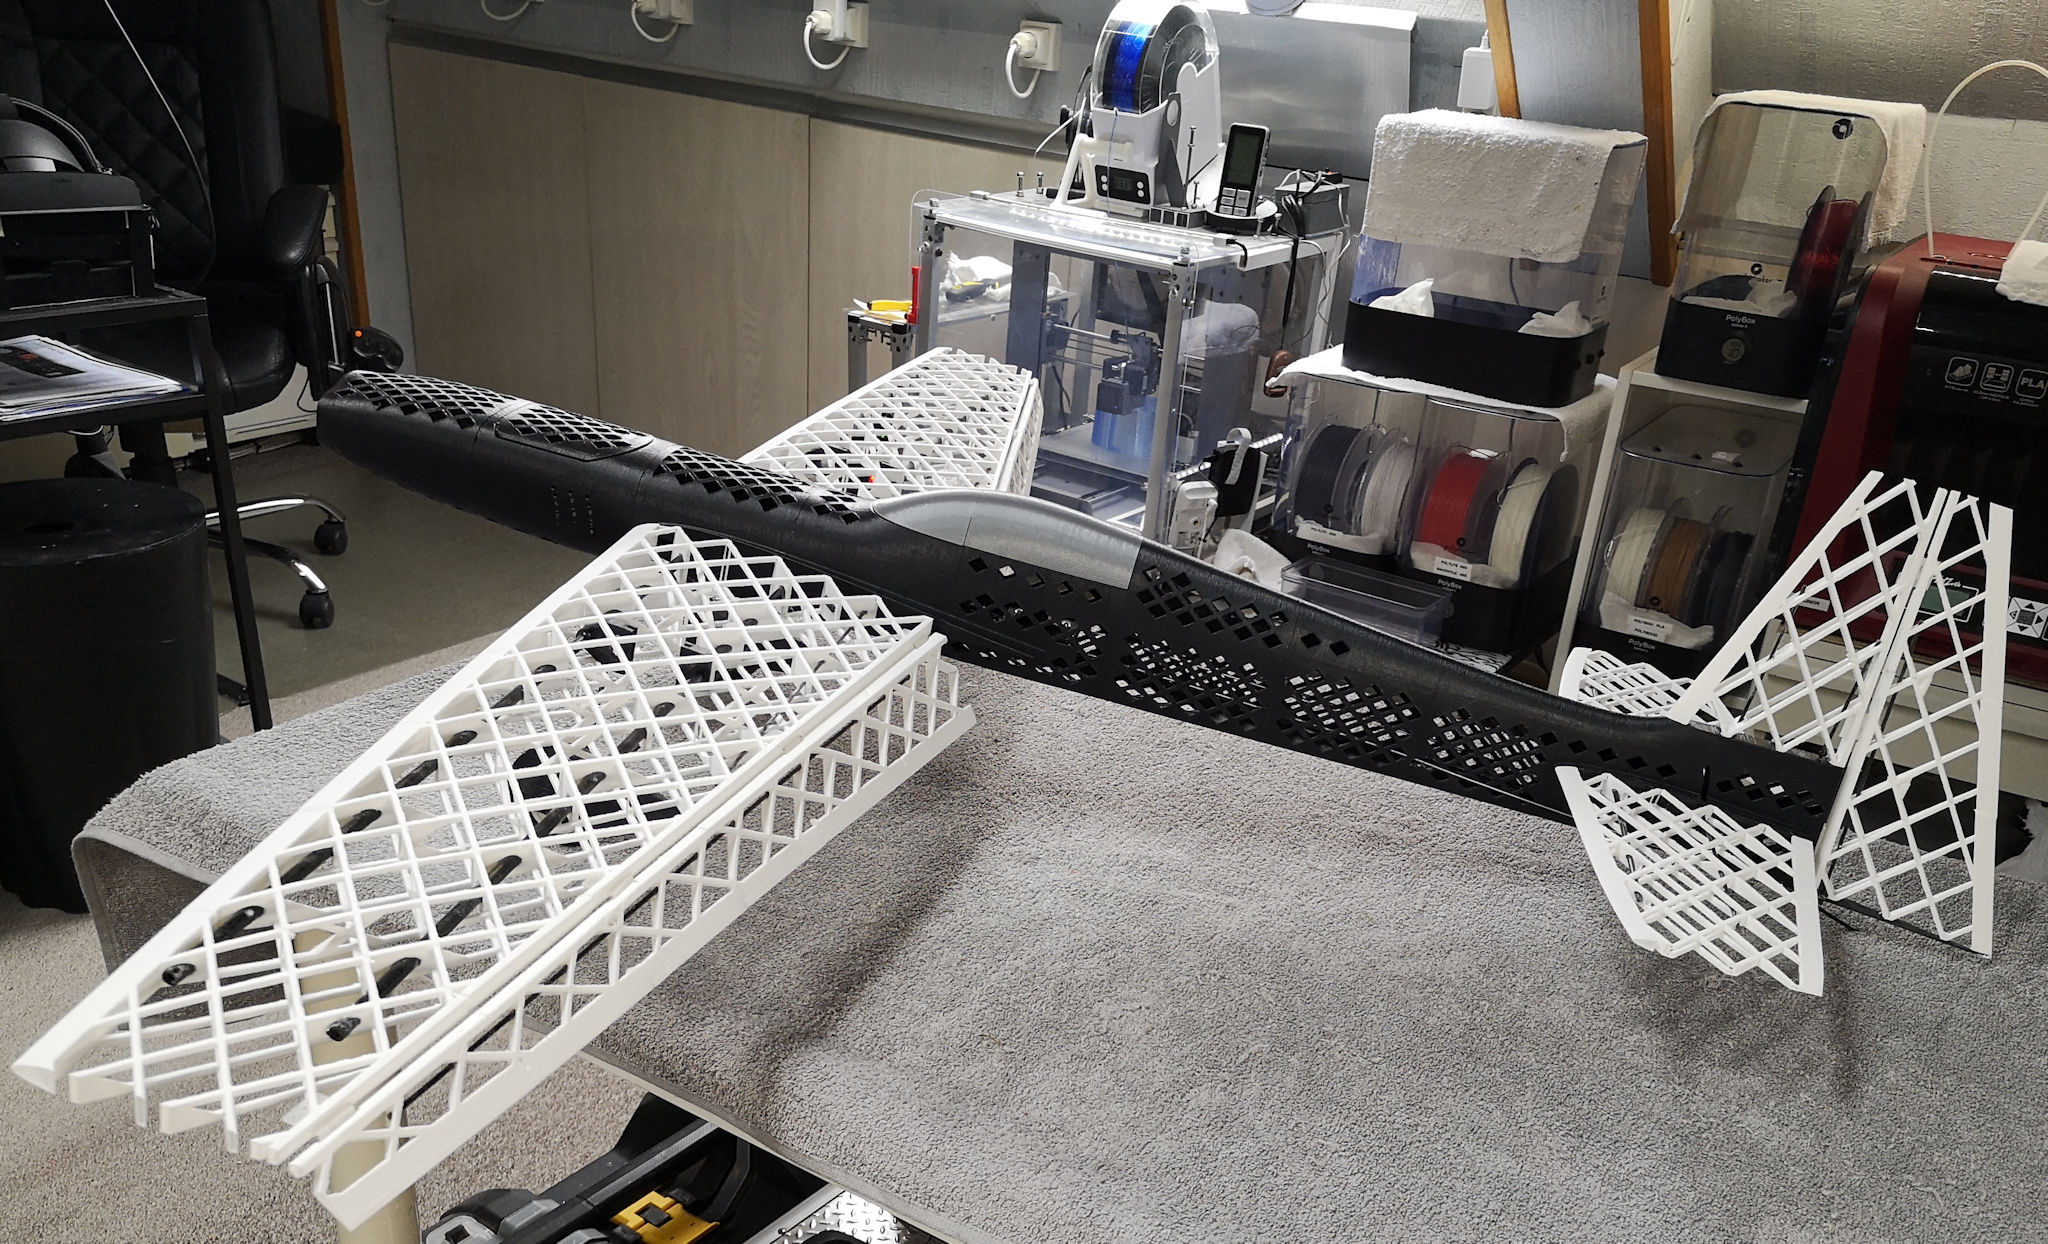
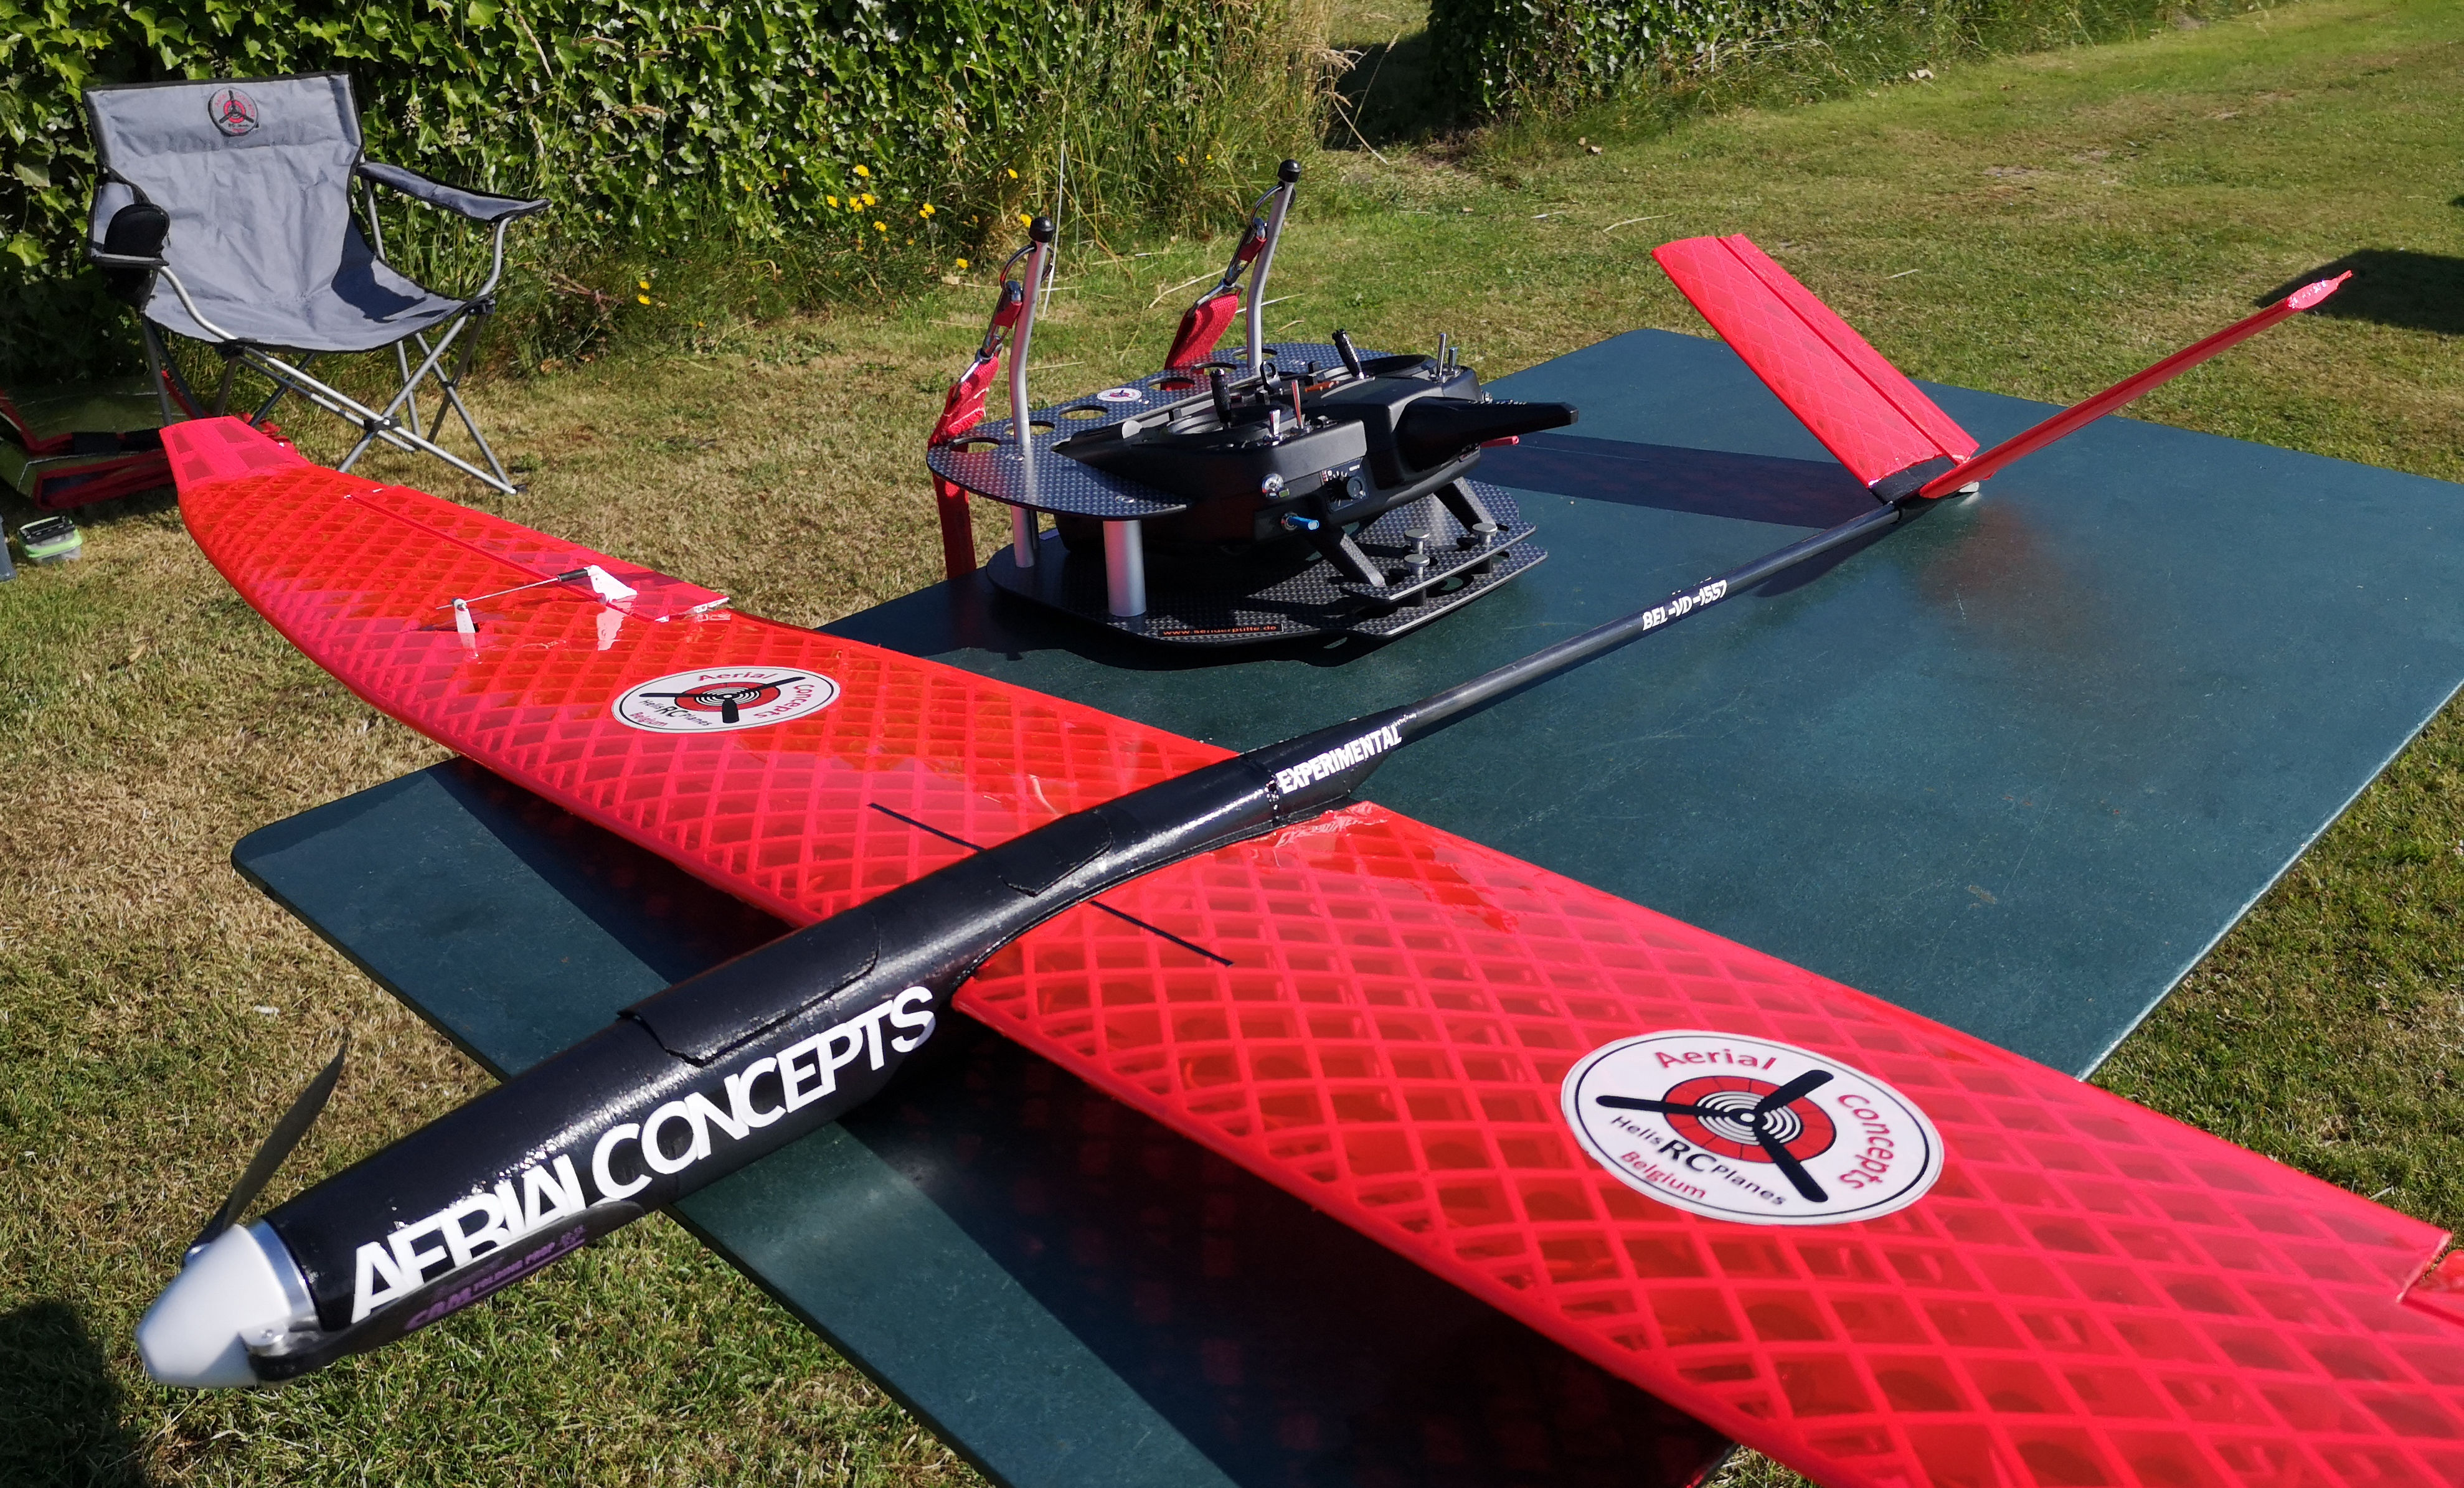
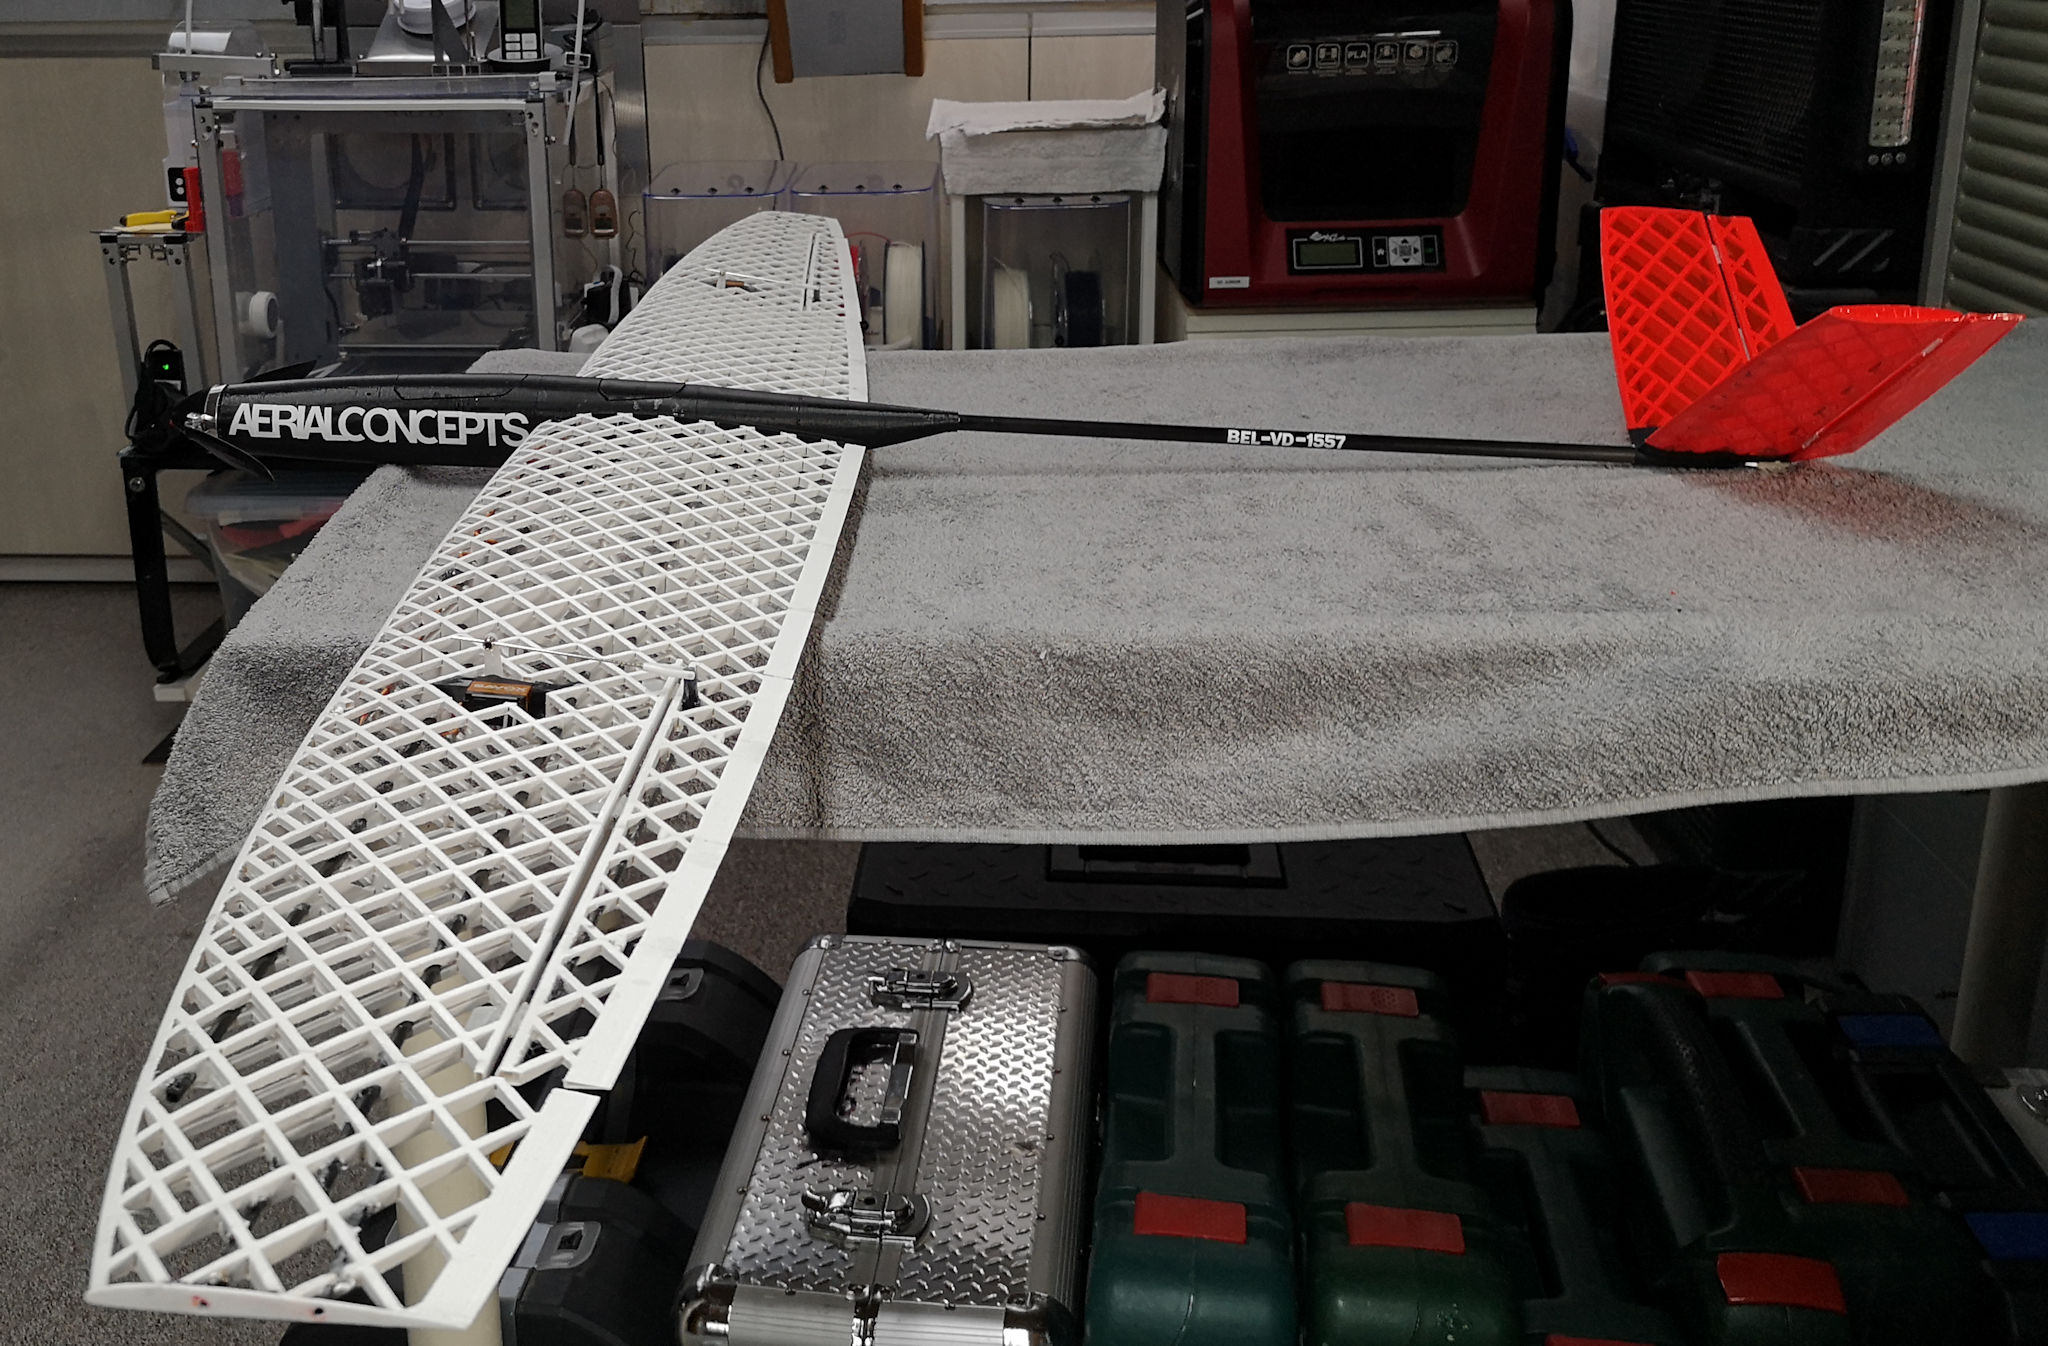
For my fourth printed RC plane the Model Y from Eclipson. I would like to use this plane in the future for some camera work and/or FTV testing. This plane is also printed in PETG except for the landing gears and servo holders who were printed in ASA. Information about my 3D printing equipment you find in the post; printing the Kodo. For more detailed information about my printing experience with PETG, you can read my post; printing the Stearman. Printing this plane I tried to solve some drawbacks of printing RC airplanes in PETG. First, I tried to limit the higher PETG density leading to higher wing load by enlarging the main wing surface. This was possible to scale some wing part in one direction and create the main wing of 1.2 m instead of 1 m. Second, to reduce the flexibility in the four outer wing parts I used a small 2% vertical rectilinear infill This increased the weight only by 15 grams. I experimented also airbrushing the other wings and the sides of the fuselage in the red color. To be able to paint on PETG I used a transparent primer for all plastics in a rattle can.
Electronics for this Model Y
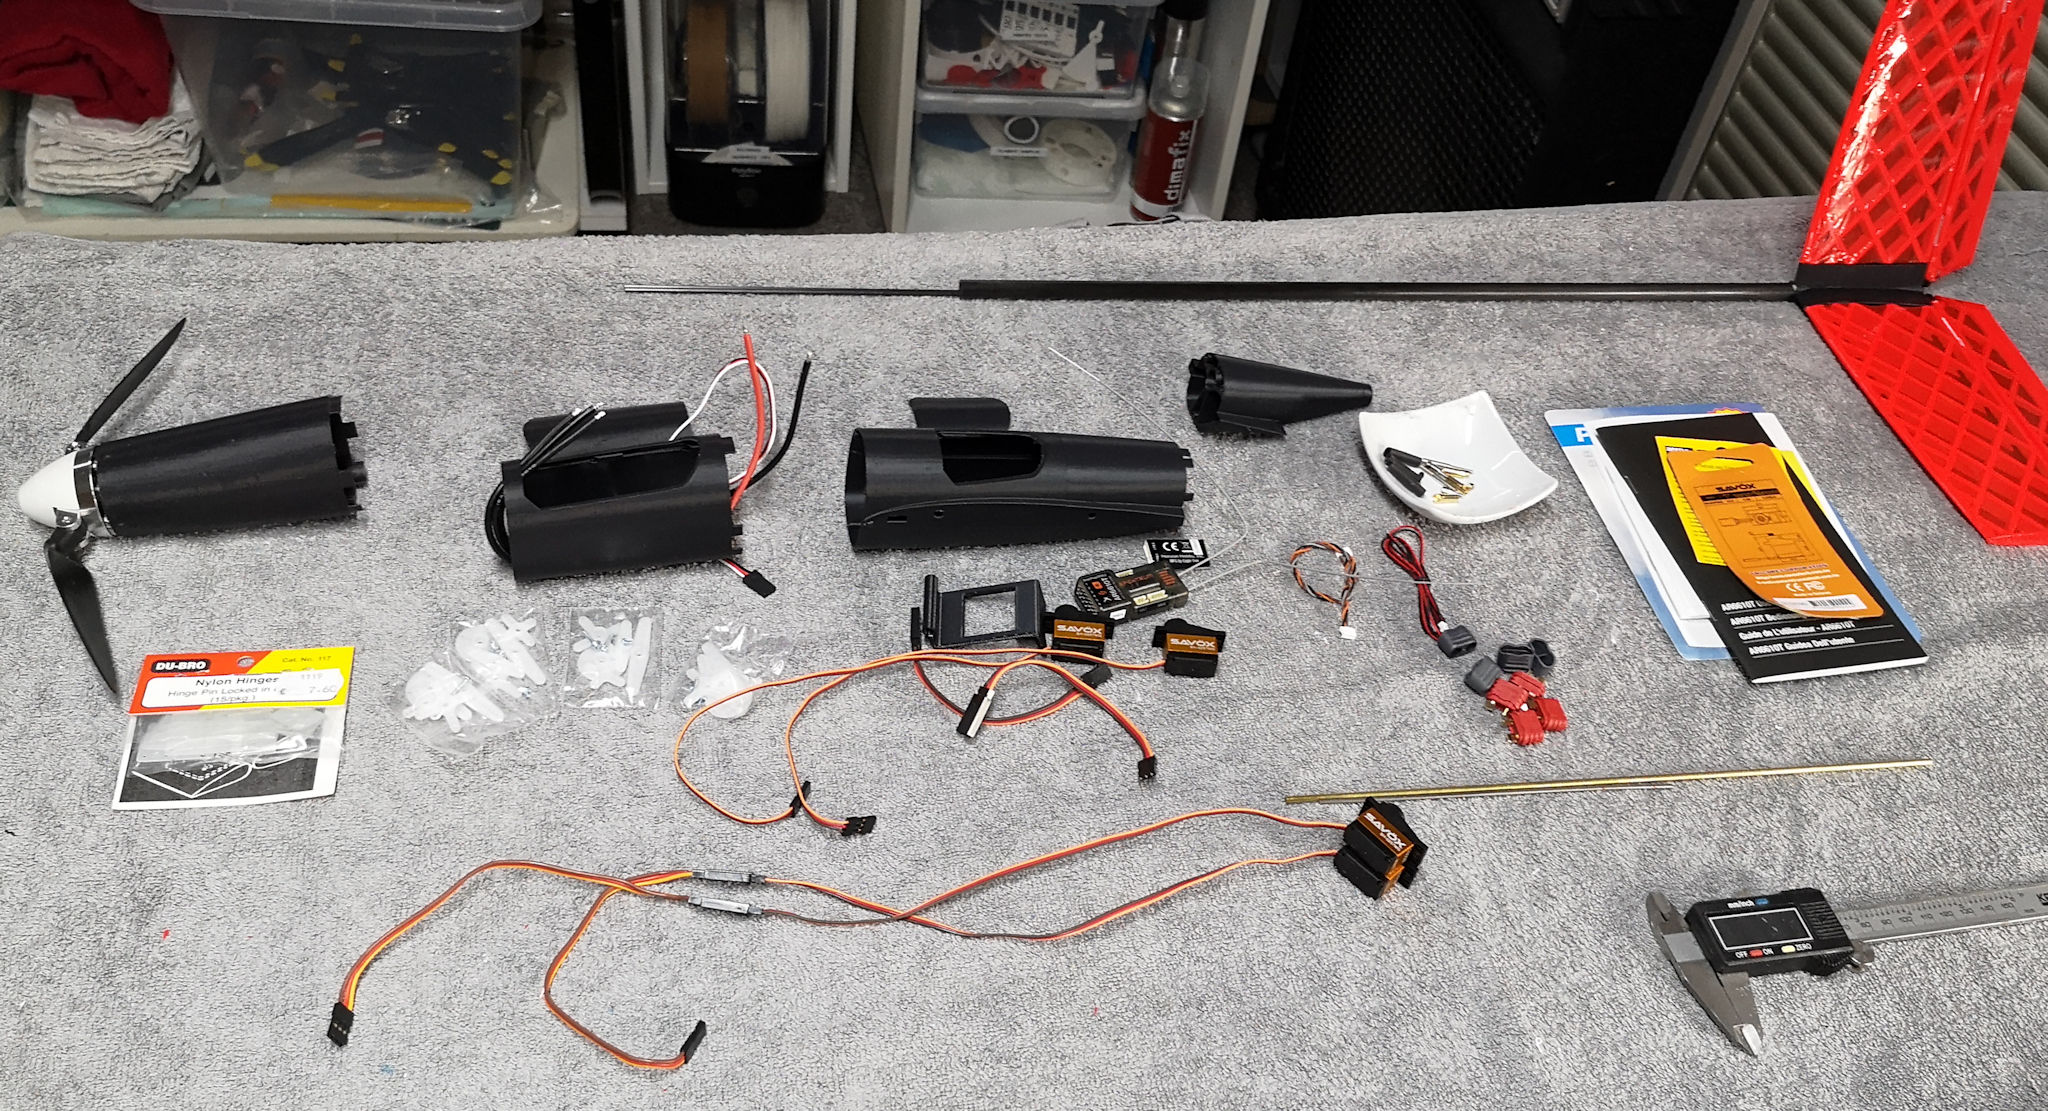
I used a Pichler Boost 18 motor with KV 1050 with a Pichler Boost XQ 30 ESC, 4 Savox SH-0257 MG (Metal gear) servos, a Spektrum AR6610T 6 channel receiver, and a Turnigy nano-tech 3S 950 mAh battery.
Modifications
MOD1: Modified STL files in the slicer Simpify3D to scale some part in one axis to get more wing surface (+ 2 dm2).
MOD2: Made some wing parts stiffer by using a 2% rectilinear infill.
MOD3: Printed a semi-transparent cockpit in PETG and airbrushed it black on the inside for the looks.
MOD4: Added A3super 3 Gyro from Hobbyeagle to improve stability and still to be able to use the ailerons as flaperons to reduce landing distance.
MOD5: After calculation with Ecalc bought an optimal Parkzone propeller instead of the standard available APC Electrical propellers.
Summery
Till now I did not maiden this RC Airplane. Al static tests were OK, the plane was certified for flying at or RC terrain in Lier and had a photoshoot. When the weather improves I will fly this plane.
Aircraft Characteristics after Configuration and modification
Wing Span: 1.2 m
Length: 0.8 m
Flight Weight: 0.9 kg
Wing Aera: 15 dm2
Wing Loading: 60 gr/dm2
Wing Cube Loading: WCL 15
Power: 3S 950 mAh
Motor: Pichler 18 KV1050 Outrunner
Propeller: 1x PARKZ 8.25x5.5 2-blade
Stall Speed: 30 km/u
Sound Pressure: <50 dB(A)/7m
Calculations: Ecalc - reliable electric drive simulations
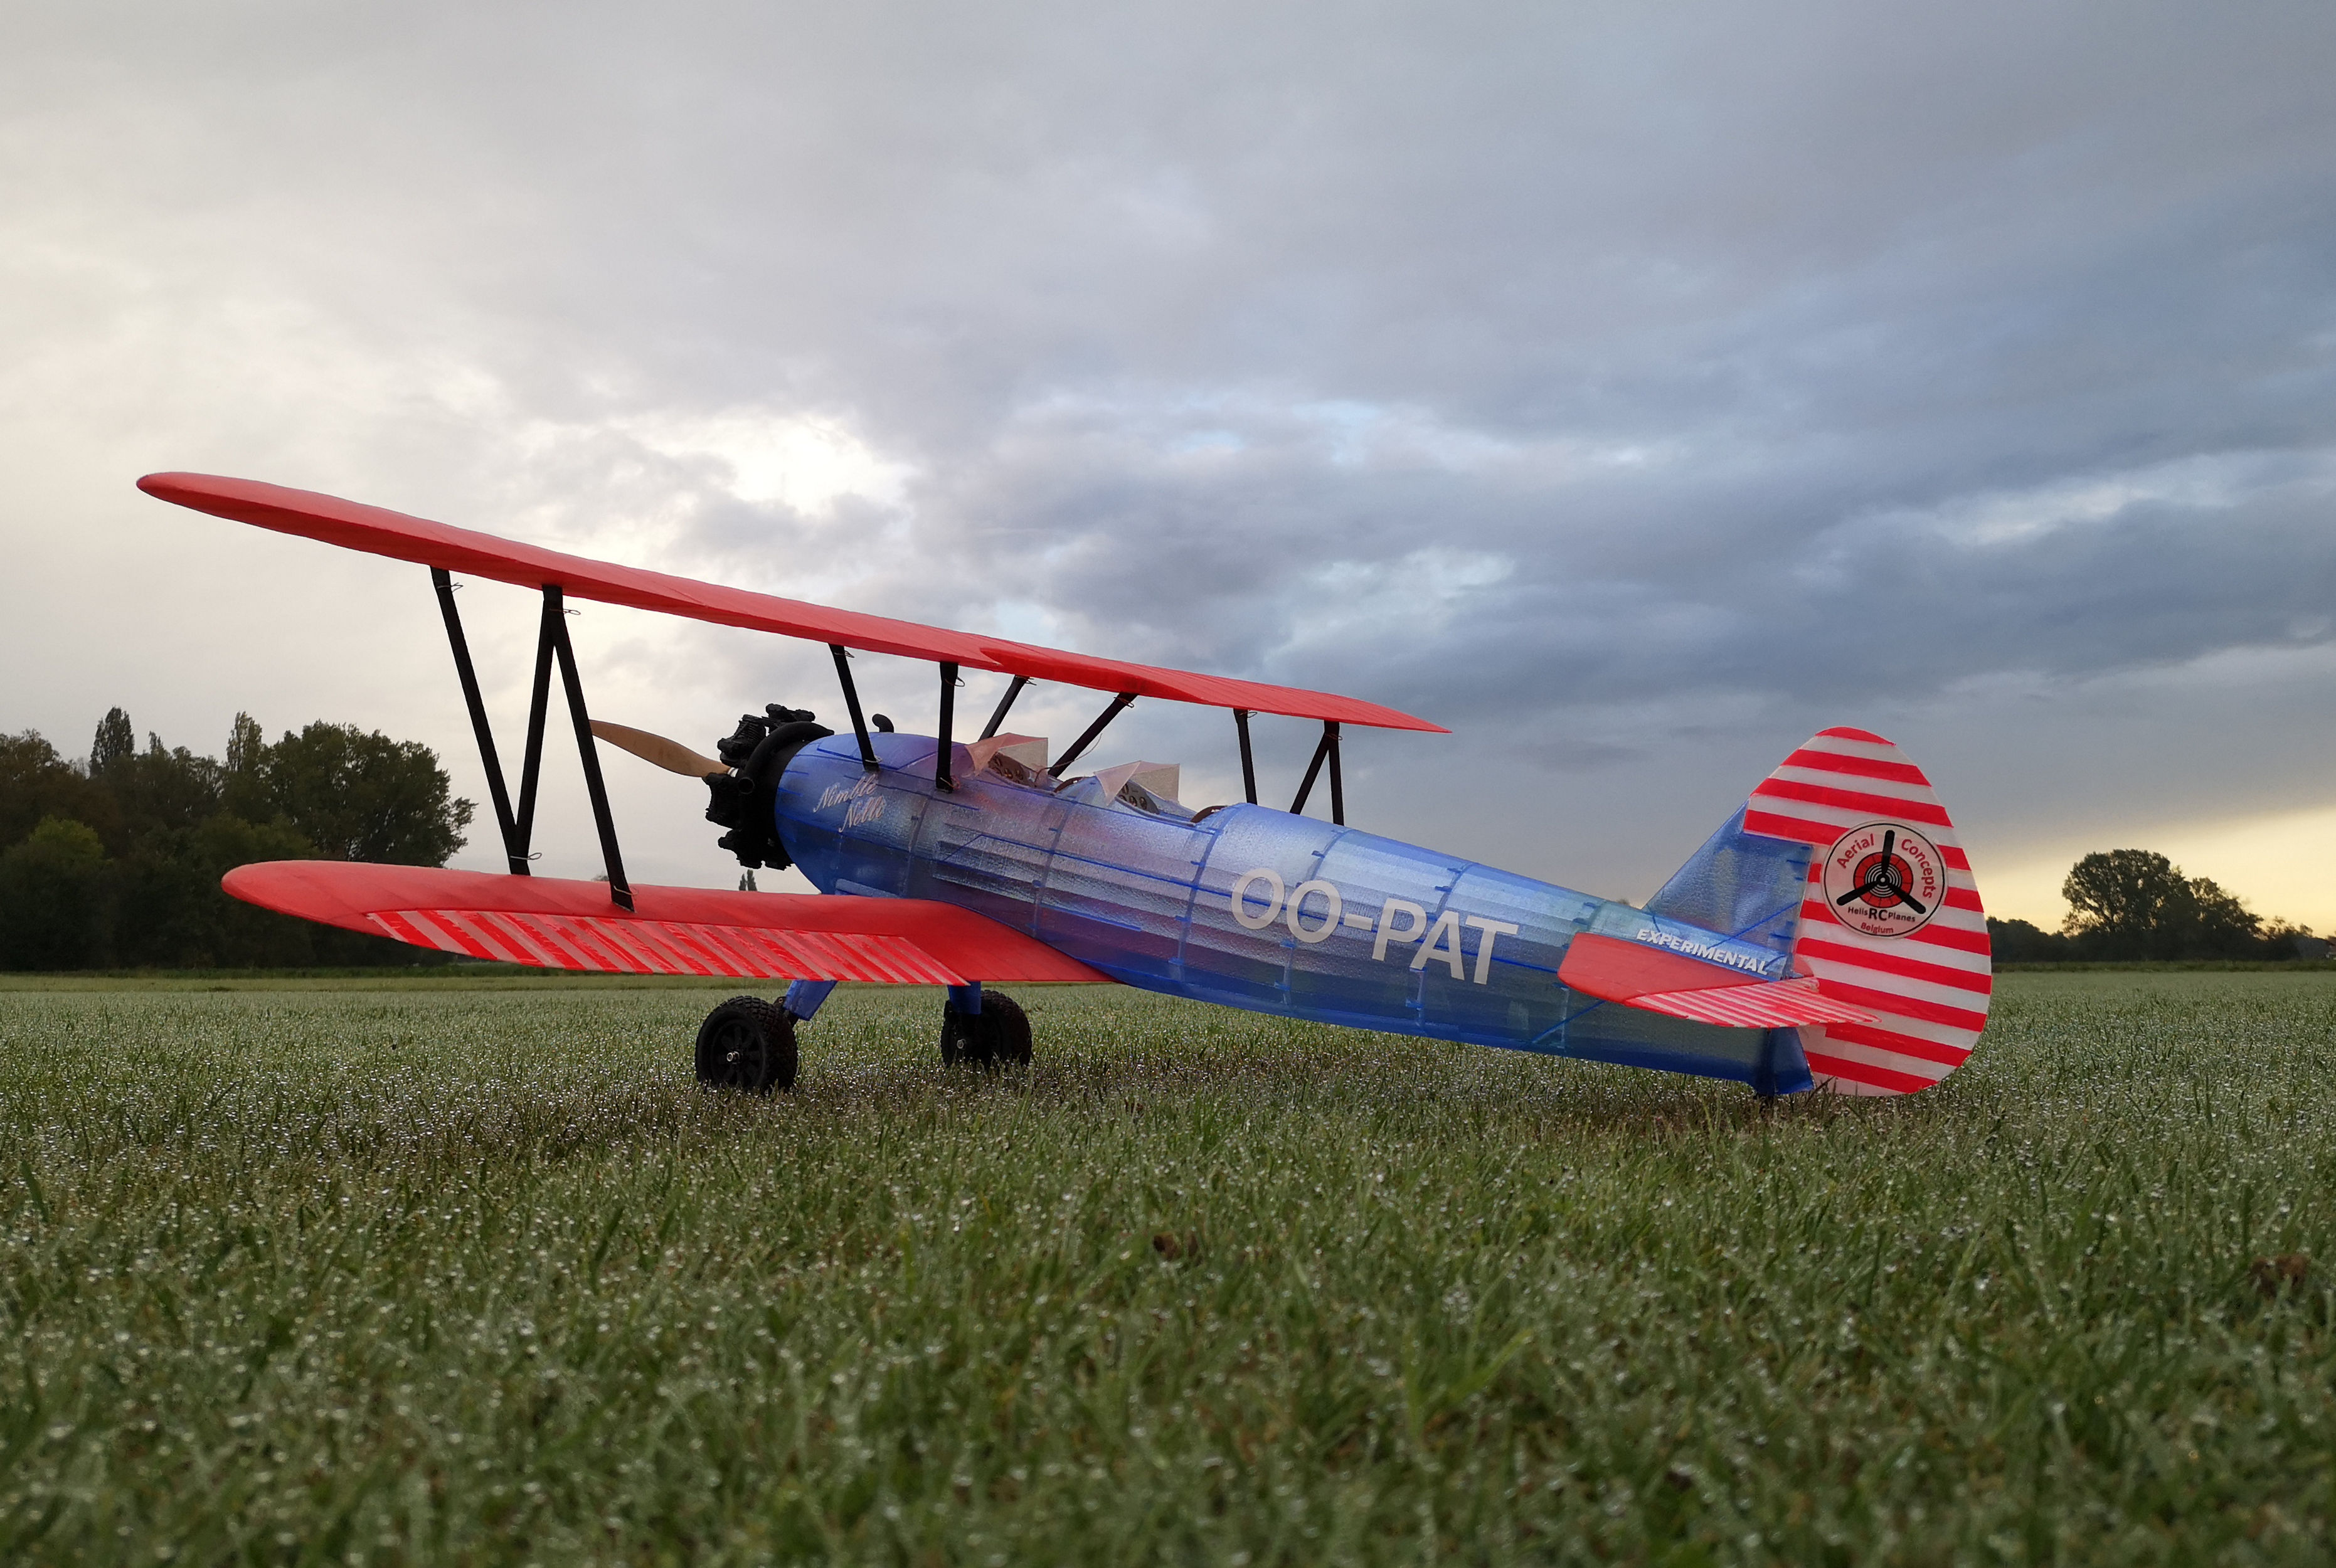
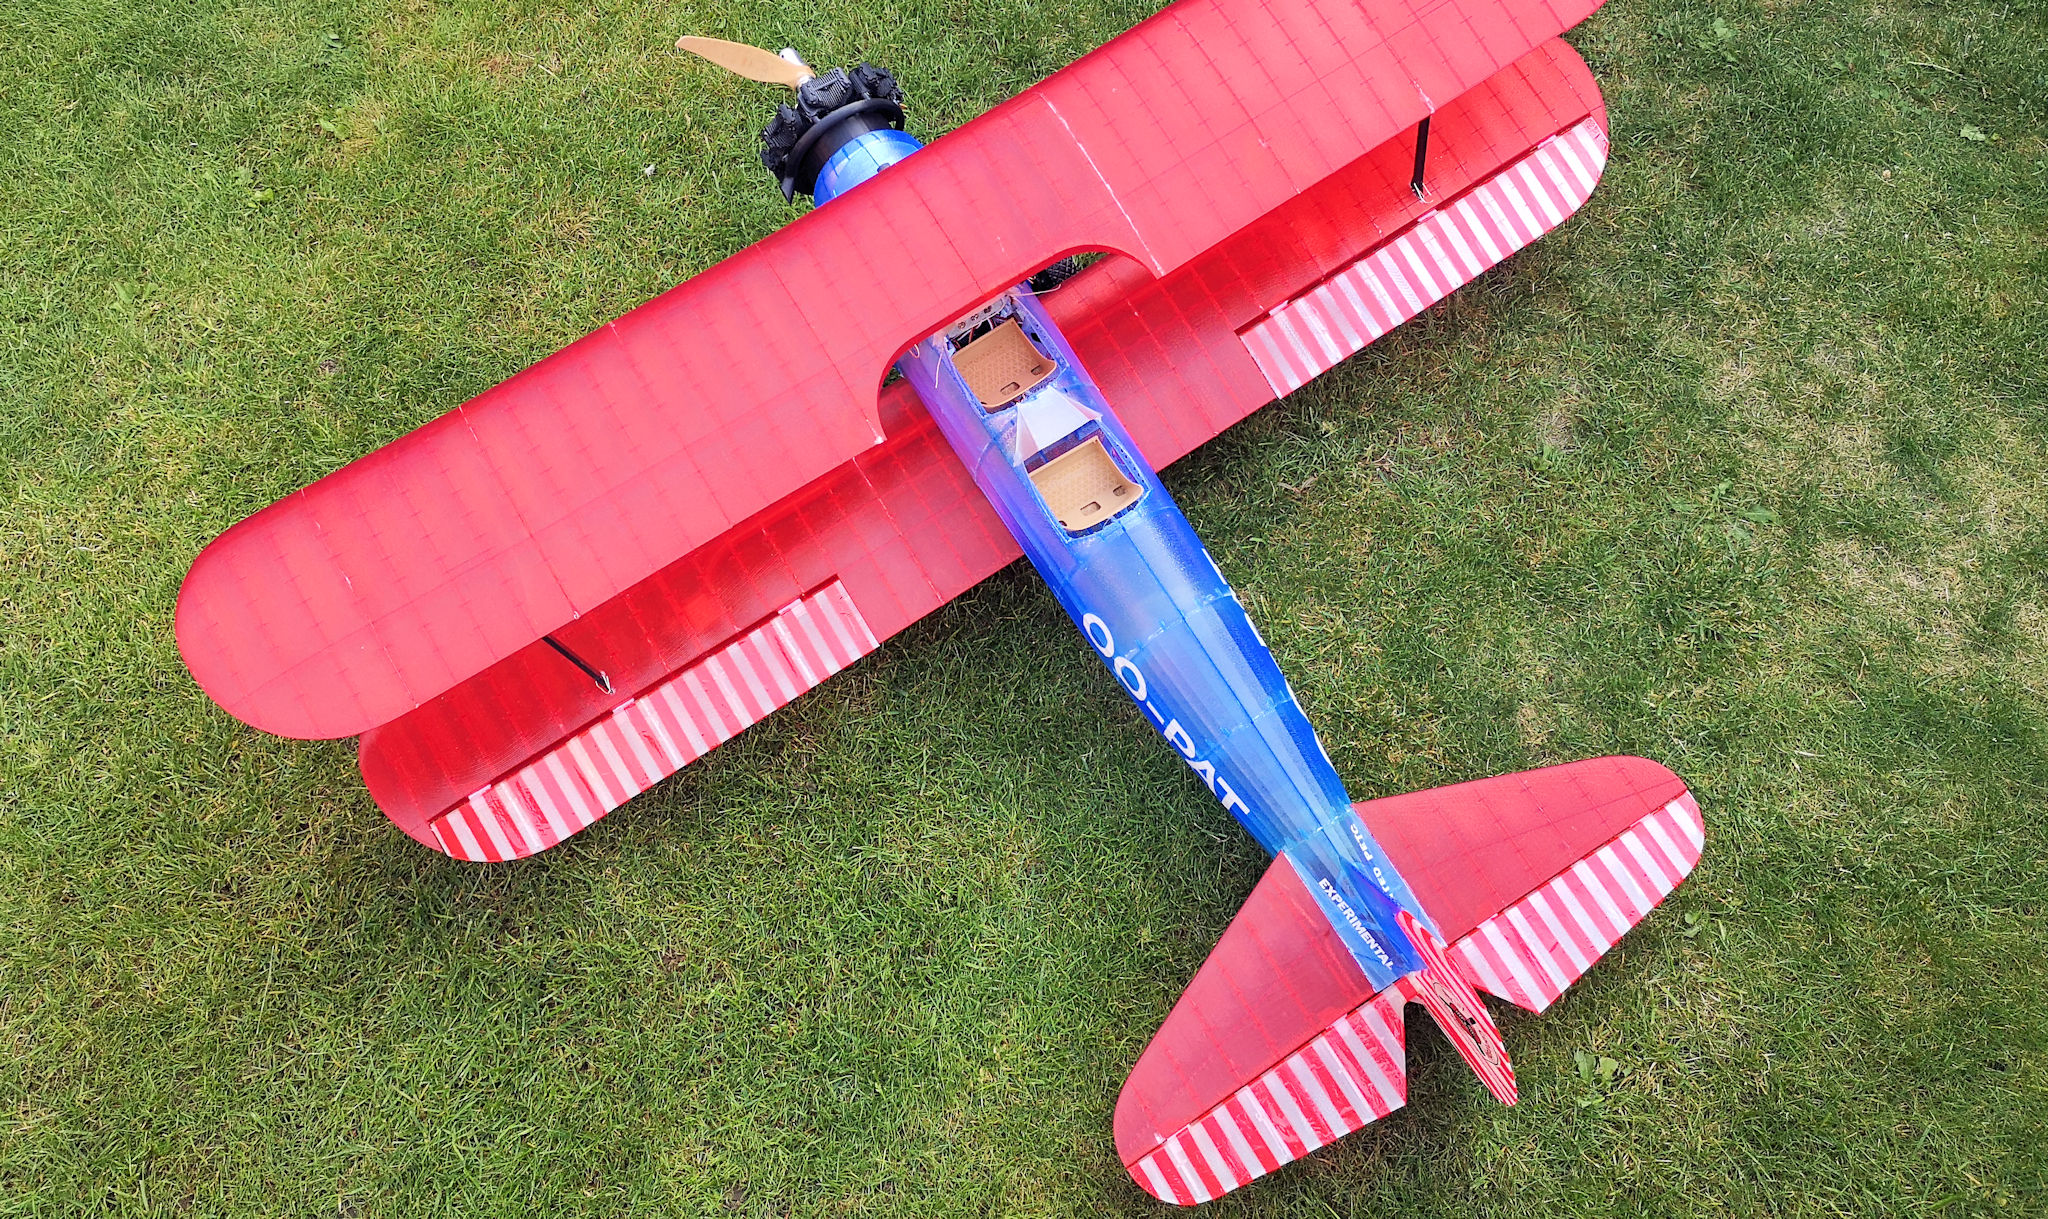
Photos