 Using PETG to print the PT-17 Stearman
My third printed RC plane is this Stearman. I tested single layer printing on my printer in PETG for this aircraft. Information about my 3D printing equipment you find in the post; printing the Kodo. You can buy the STLs and Simplify 3D factory files from 3DLabPrint. I used Makerfill PETG for wings and fuselage, Polylite ASA for the black landing gear components, and some other smaller parts. PETG print filament is similar to PET (Polyethylene Terephthalate) but with enhanced properties due to the addition of glycol (PET+G = PETG or polyethylene terephthalate glycol-modified). Due to the excellent strength and impact resistance, PETG is appropriate for stress withstanding applications. Being amorphous in nature, PETG has good flexibility, machinability, and thermoforming characteristics, which allows the material to be hotline bent and welded. Here are some of its 3D print advantages; excellent layer adhesion, warp resistance, reduced shrinkage, high water-resistant, high temperature resistant. The temperature tolerance for PETG is around 75ºC. With PLA, on the other hand, you generally have to keep 3D printed parts below 55ºC to keep them solid. The cons of PETG for RC planes are higher flexibility can lead to twisting of the wings or fuselage during flight and the rather high density leading to a higher wing loading. To get good adhesion between the layers for single layer printing I had to give more filament material by setting the extrusion multiplayer 1.03 for the 0.25 mm layer height. Printing PETG material has some cons; PETG has a high density of 1.27 g/cc, so the plane will be havier than printed in ASA, HIPS, and lightweight PLA. There is also a tendency to have a lot of stringing and it's difficult to make bridges. To solve these problems and keeping printing time reasonable I had to print each part in more than one process. So I could change the print settings for some heights areas. For example for bridging, I had to slow down and reduce the extruder temperature on specific height areas. Also, to reduce the stringing I try tried to use a filament retraction distance as low as possible on my printer, and use some coasting- and wipe distances. To make some parts stiffer I had to print some heights areas of a part in a double-layer wall. My printer setting for PETG: Printing volume 200x200x180 mm, Extruder 0.4 mm, Layer Height 0.25 mm, Extruder Temp 245-235 ºC, Filament Speed max 40 - 15 mm/s, Bed 80 ºC, Cooling 60%-100%.
Electronics for this PT-17 Stearman
I used an Extron motor 2826/10 KV860 Outrunner with an Extron iQ-40 ESC, 4 Savox SH-0255 MG (Metal gear) servos, a Spektrum AR6610T 6 channel receiver, and a Gens ACE 3000 mAh.
Modifications
MOD1: Modified print processes to be able to make PETG bridges, avoid stringing, and to reinforce some part by printing some 2 layer bands.
MOD2: Modified motor section with extra an extra 20 mm motor shim, drilled holes in the 7 cylinders, and added approximately 70-gram lead to adjust the Centre of gravity.
MOD3: Modified the landing gear with metal springs and inox wheel shafts and copper tubes, and printed a higher infill in the front part of the PETG landing gear legs to get these stronger.
MOD4: Added A3Pro Gyro from Hobbyeagle to improve stability and the use of failsafe modes.
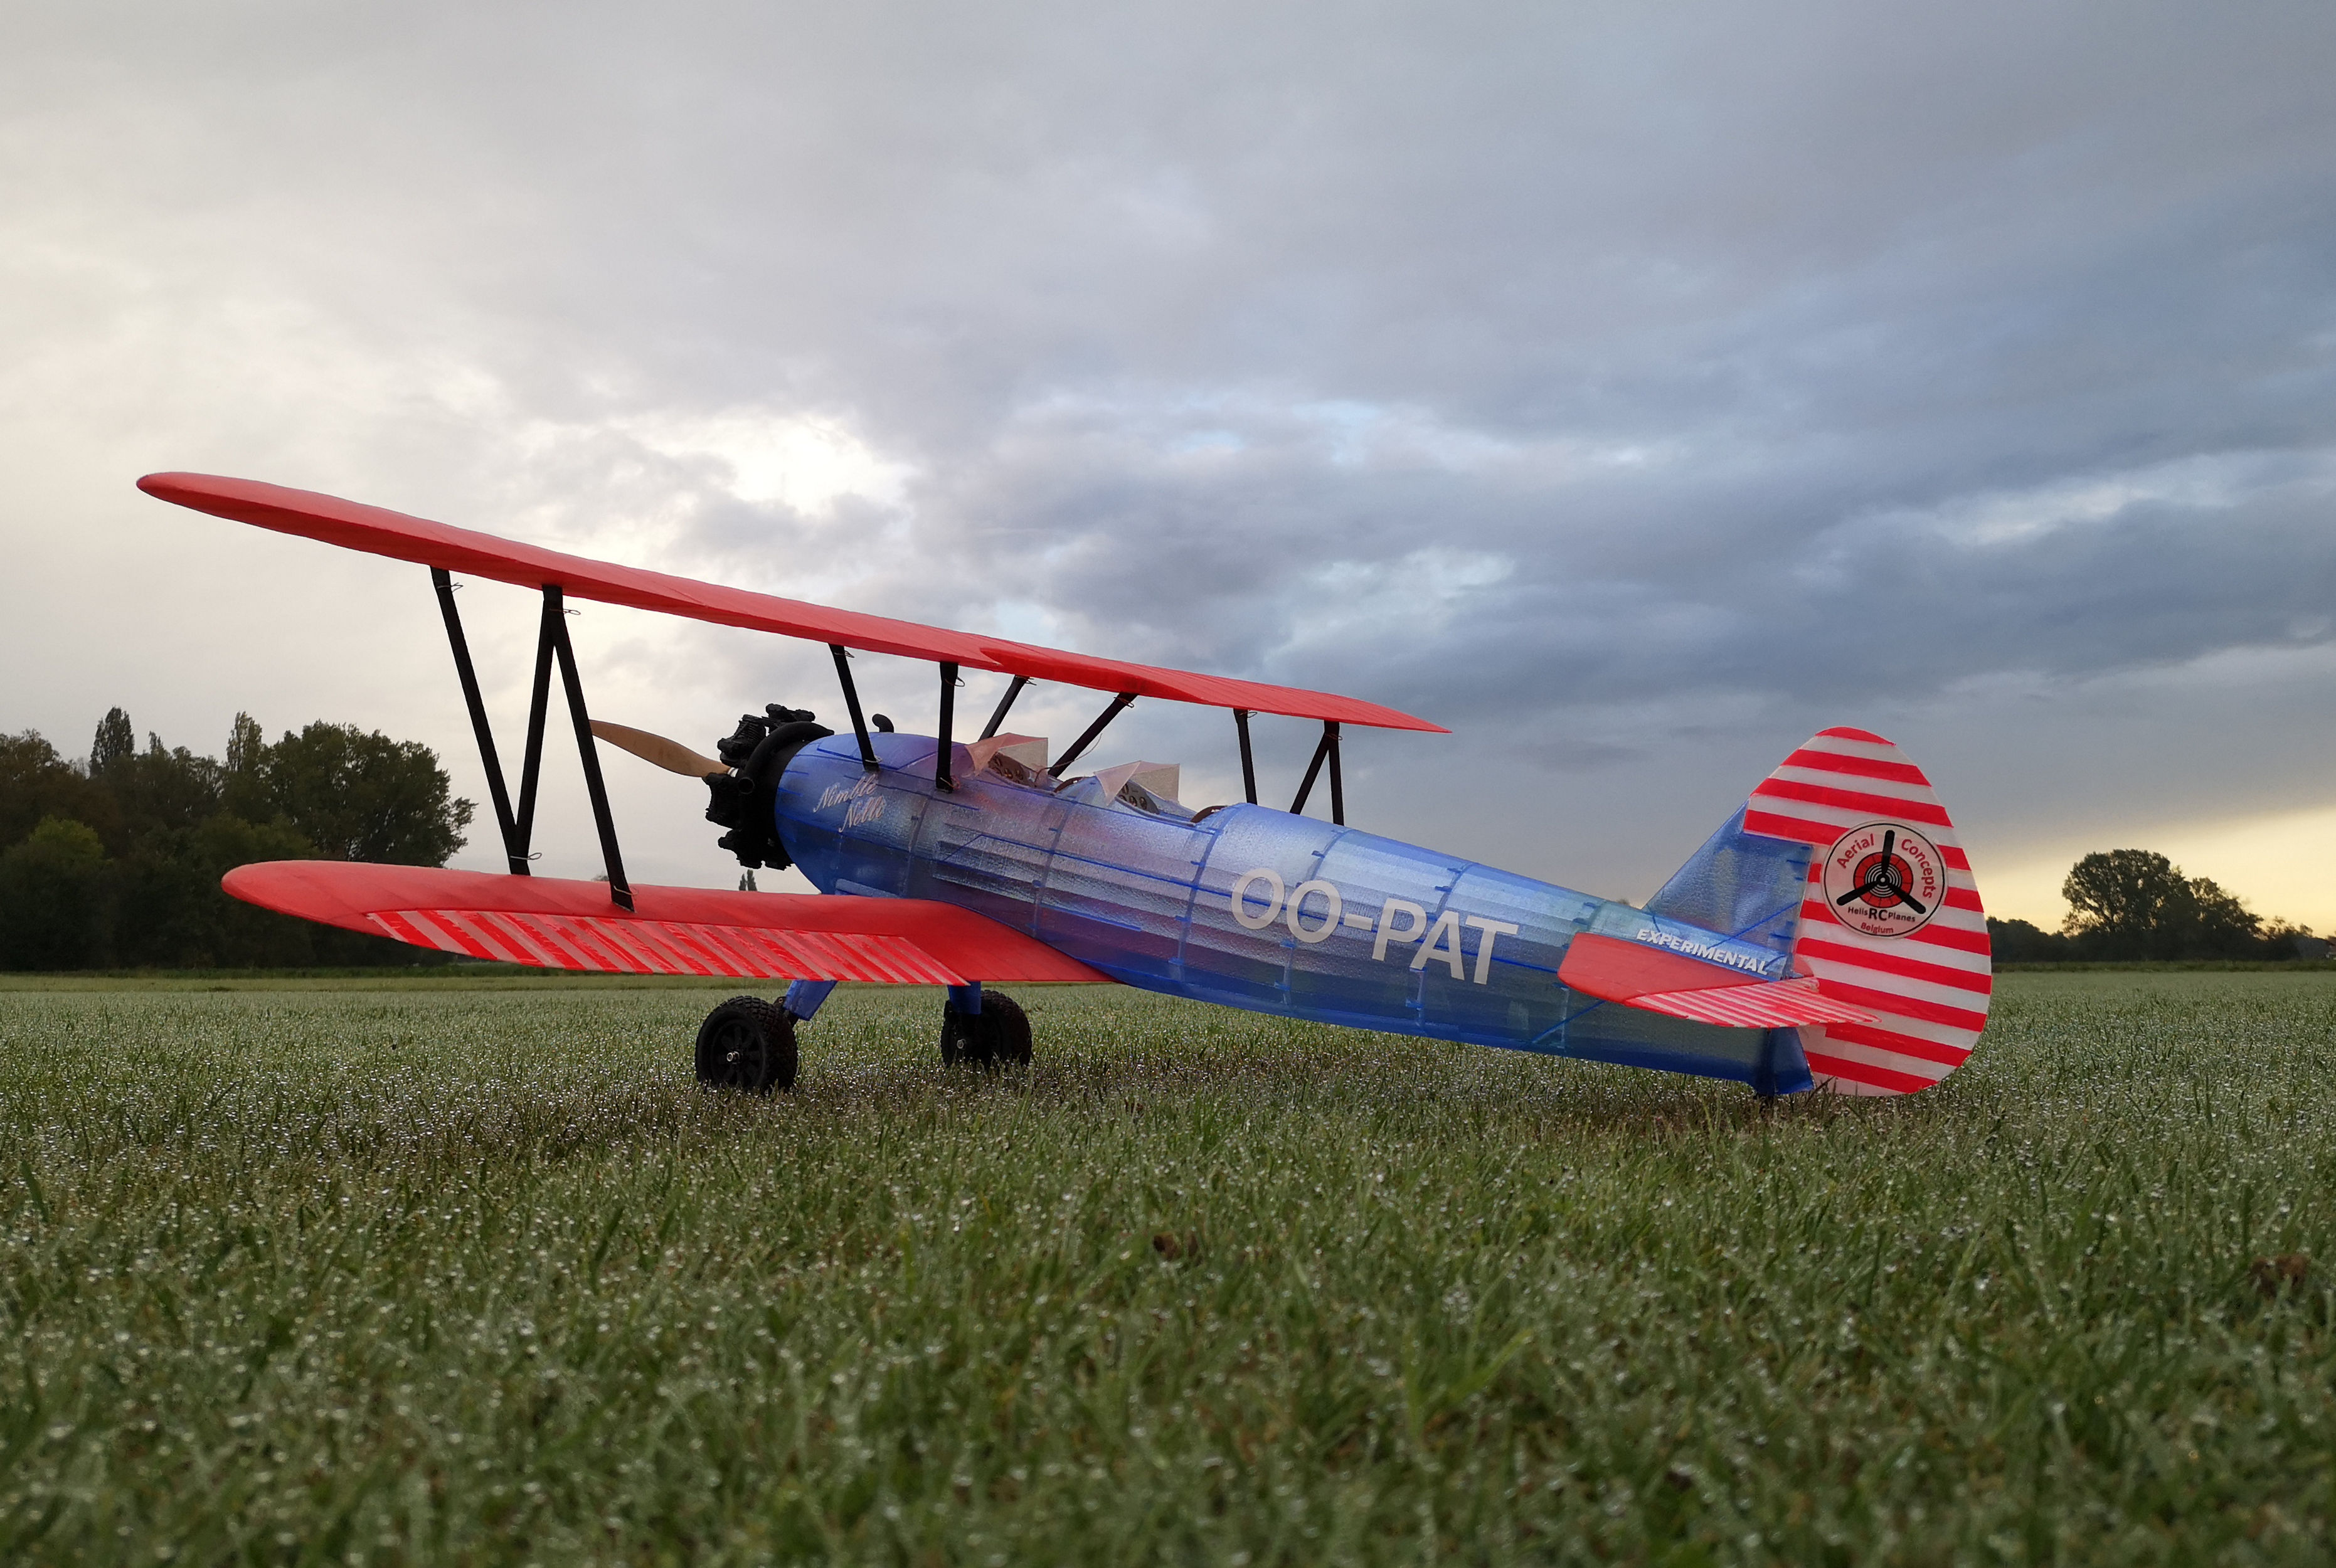
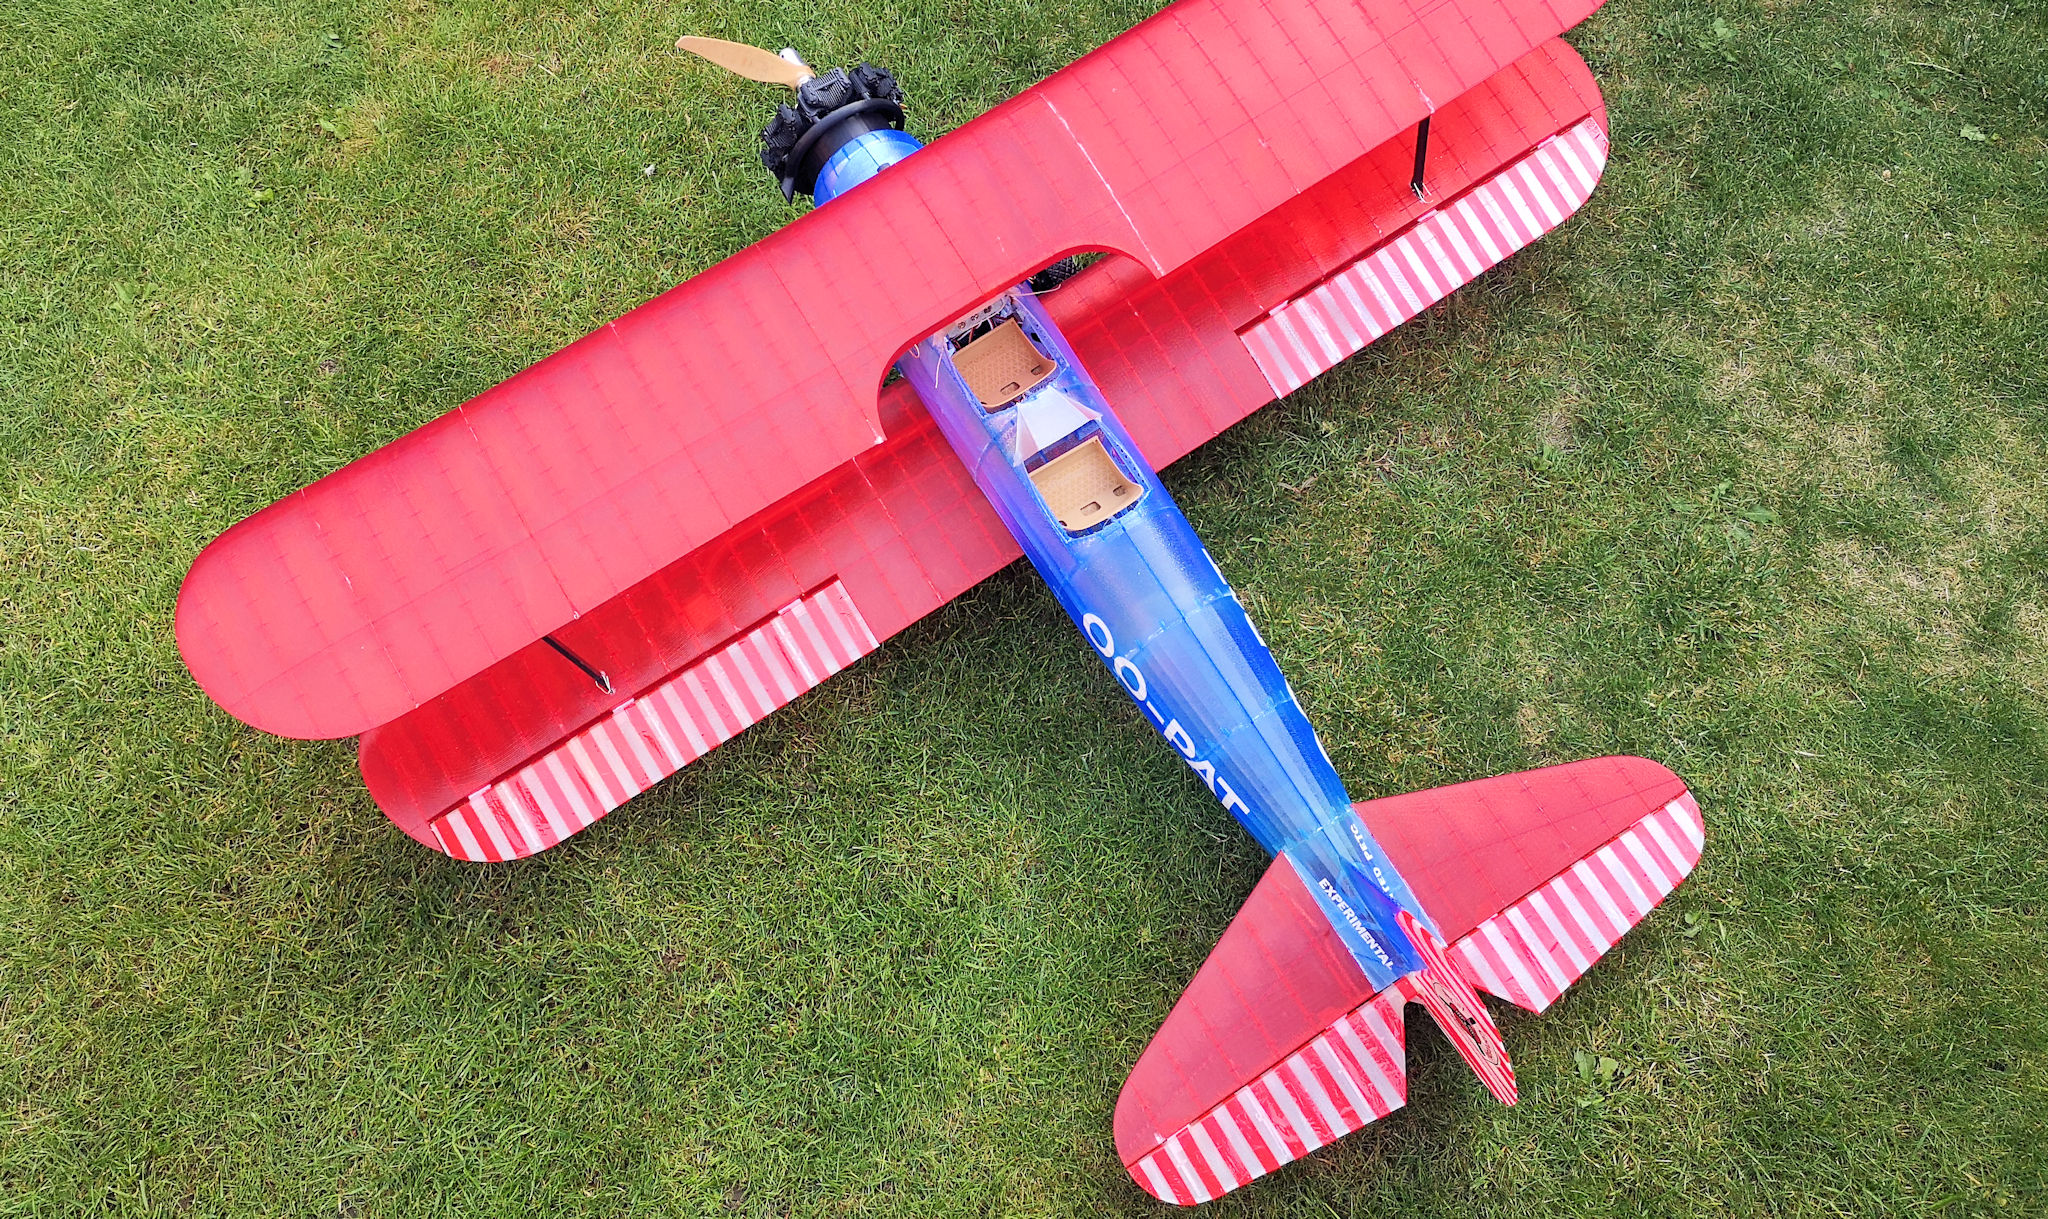
MOD5: To improve the looks I printed the plane in blue and red transparent PETG, the windscreens completely Makerfill transparent PETG, and the pilot chairs in Polymaker Polywood.
MOD6: Printed the tires in Makerfill Flex with no infill.
MOD7: The stripes on the ailerons, elevator, and rudder as are small pieces of red Oracover Transparent Fluorescent film ironed on the PETG.
Summery
Till now I did not maiden this RC Airplane. Al static tests were OK, the plane was certified for flying at or our RC terrain in Lier, Belgium, and I did a photoshoot. When the weather improves I will fly this plane.
Aircraft Characteristics after Modifications
Wing Span: Bi 1.2 m
Length: 0.9 m
Flight Weight: 2.7 kg
Wing Aera: 45 dm2
Wing Loading: 60 gr/dm2
Wing Cube Loading: WCL 8.9
Power: 4S 3000 mAh
Motor: Extron 2826/10 KV 860 Outrunner
Propeller: XOAR 1x 12x6 2-blade
Stall Speed: 34 km/u
Sound Pressure: 50 dB(A)/7m
Video
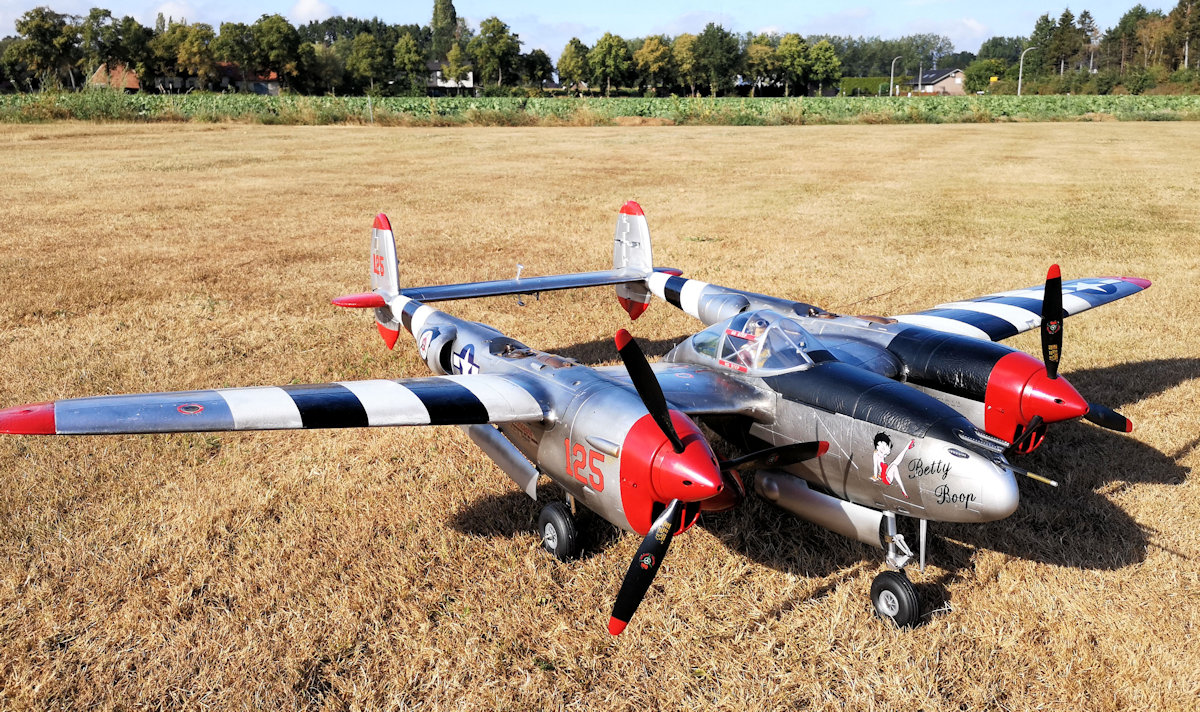
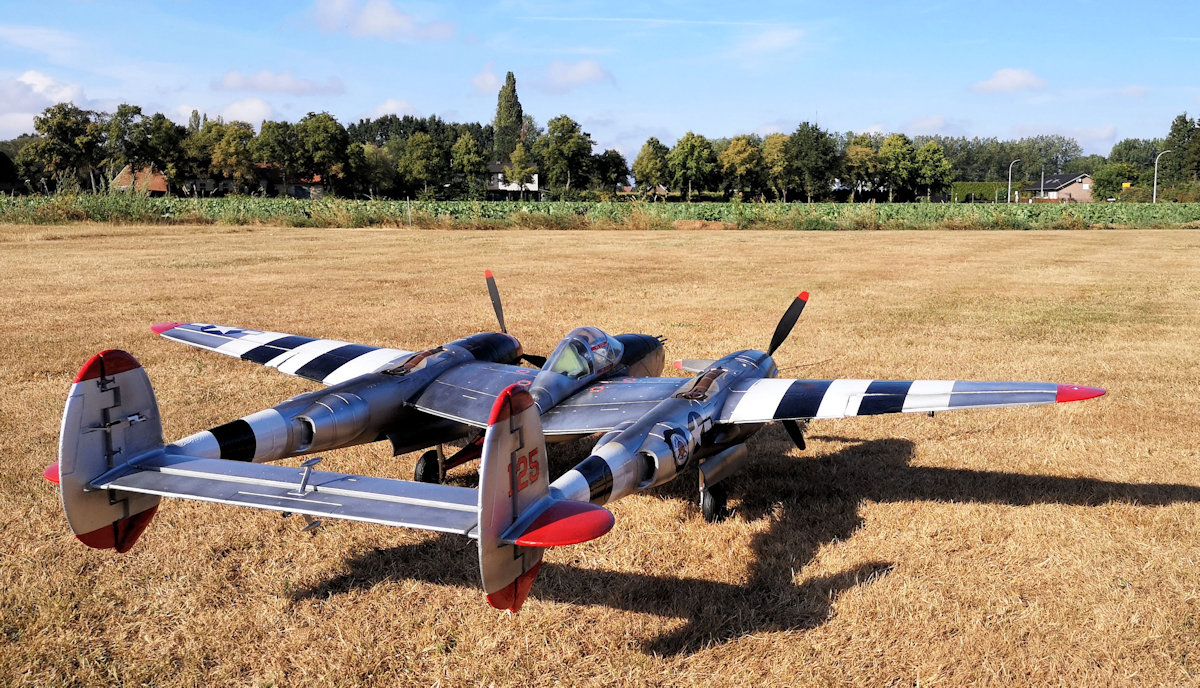
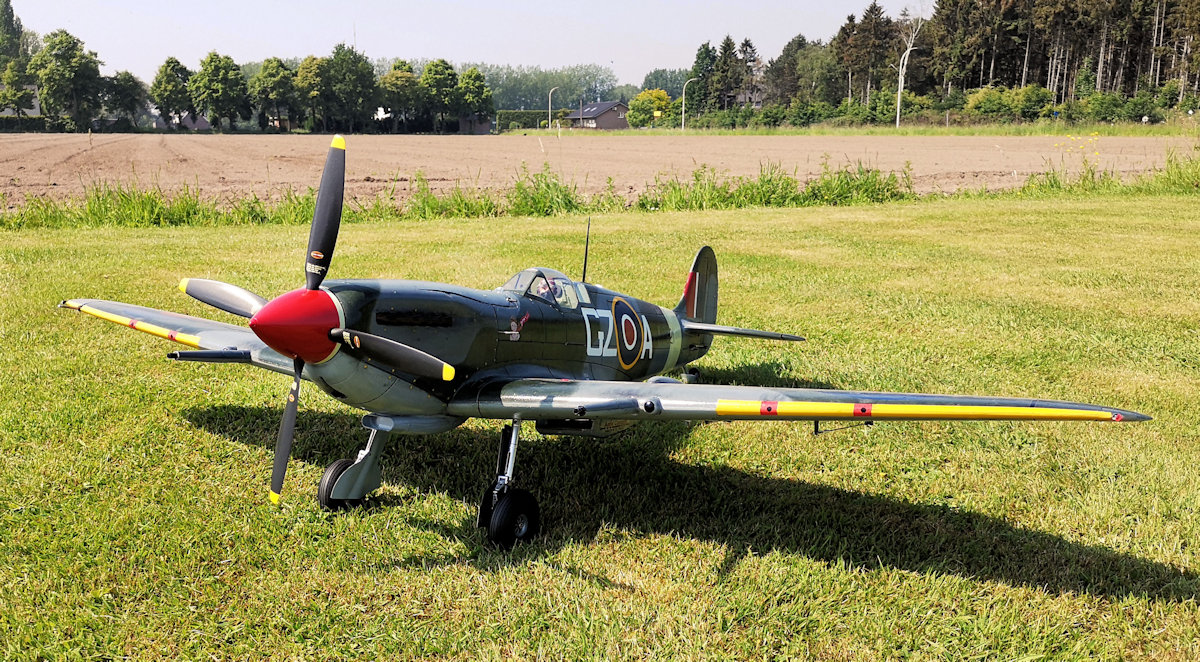
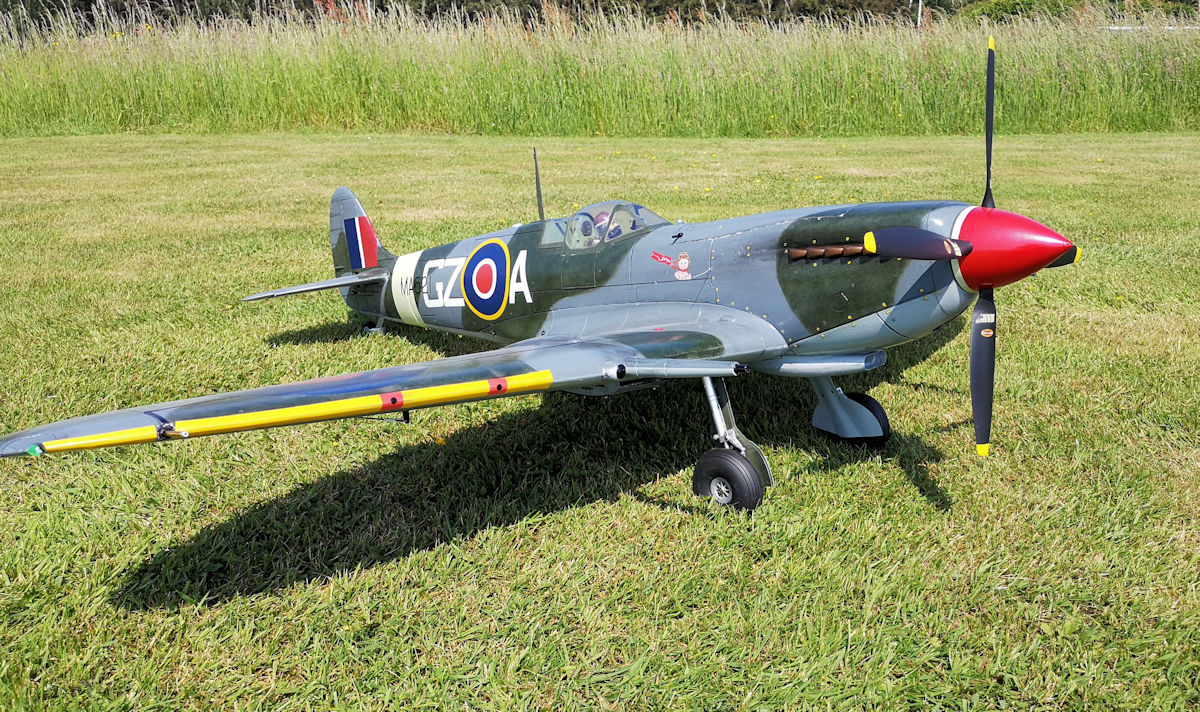
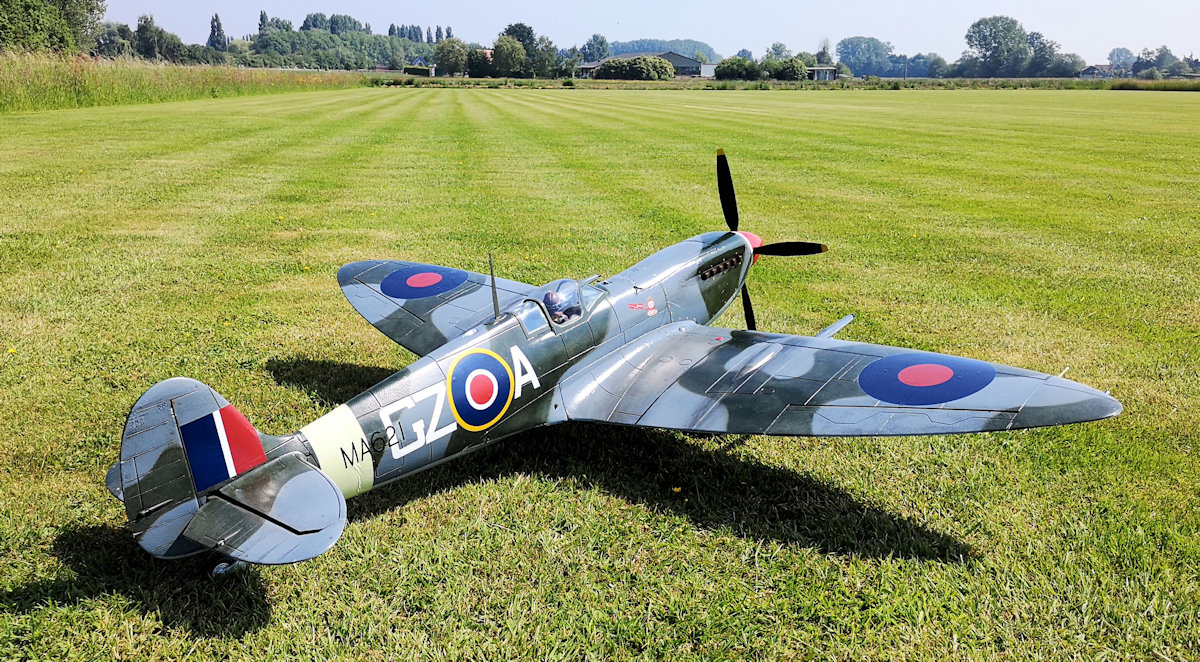
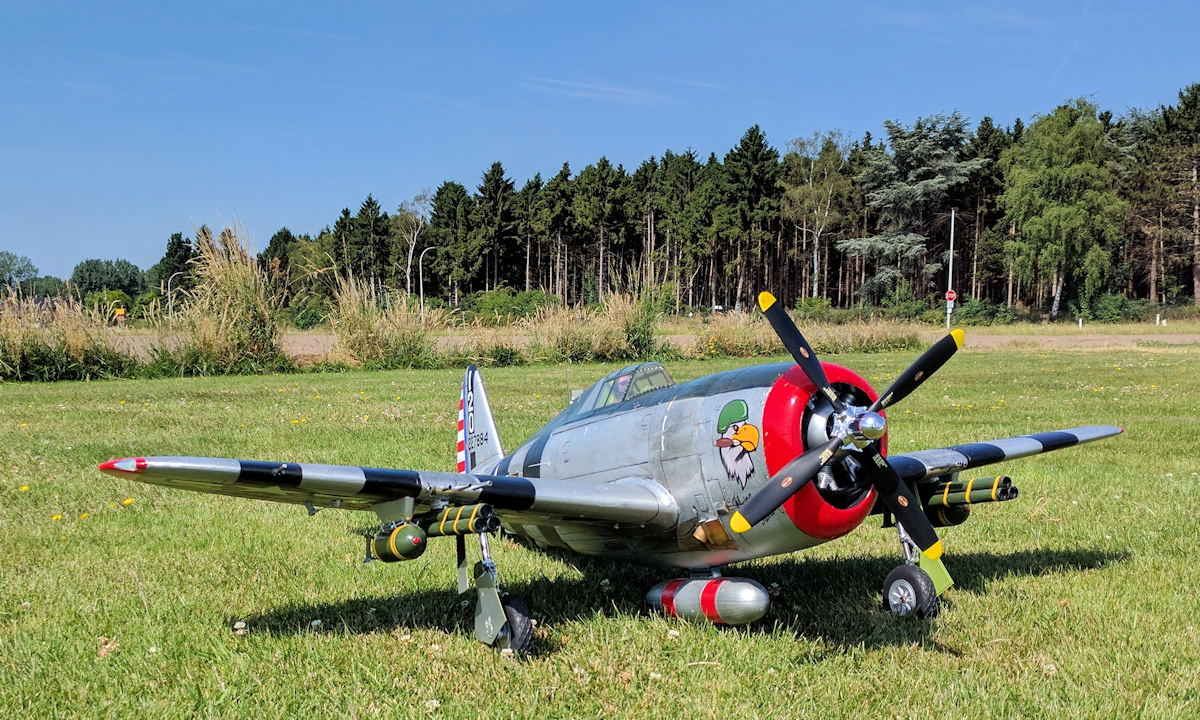
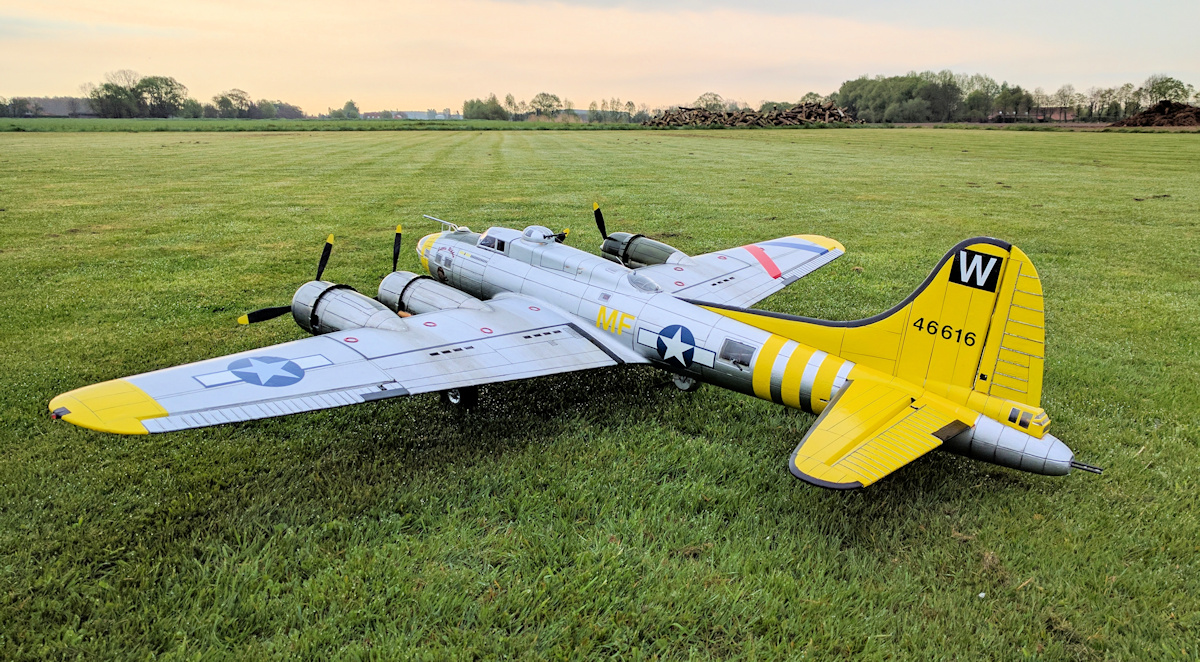
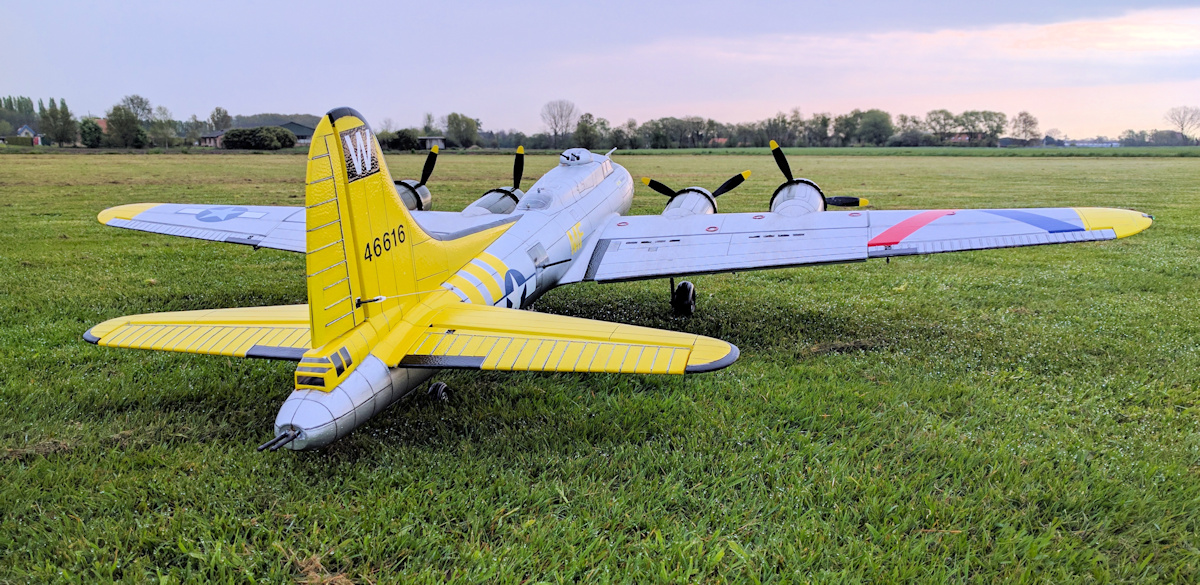
Photos