 Several years I'm using my computer to simulate flying to improve my flying skills. All those years I have used different simulation software like Aerofly FS2, Digital Combat Simulation and finally Microsoft Flight Simulation 2020. I'm using this last one most for General Aviation IFR training, Warbirds, Gliders and Helicopters. Just beginning to study airliners now with the PMDG 737-700. More than a decade ago I have already used the first versions of the Microsoft Flight Simulator to try get a better immersion of Real Life Flying. Only a few years ago Virtual Reality succeeded more or less to bring this VR Immersion. Today with Third Generation Hardware and Software we are slowly getting there. The quality of VR flying in Warbirds, Gliders, Helicopters and other Planes is becoming acceptable on a Windows 11 2H22 platform with fast hardware (CPU Intel i9 11900 and GPU Asus ROG RTX 3080Ti TUF ) and a HP reverb G2 Headset using Microsoft Flightsimulator 2020 SU11 Beta with there own Virtual environment and Aerofly RC 8 for RC-flight Simulation and for training RC-helicopters my favorite is now Heli-X. Specific in RC helicopter flying it has proved to be a great help and saved me a lot of money due to avoided crashes.
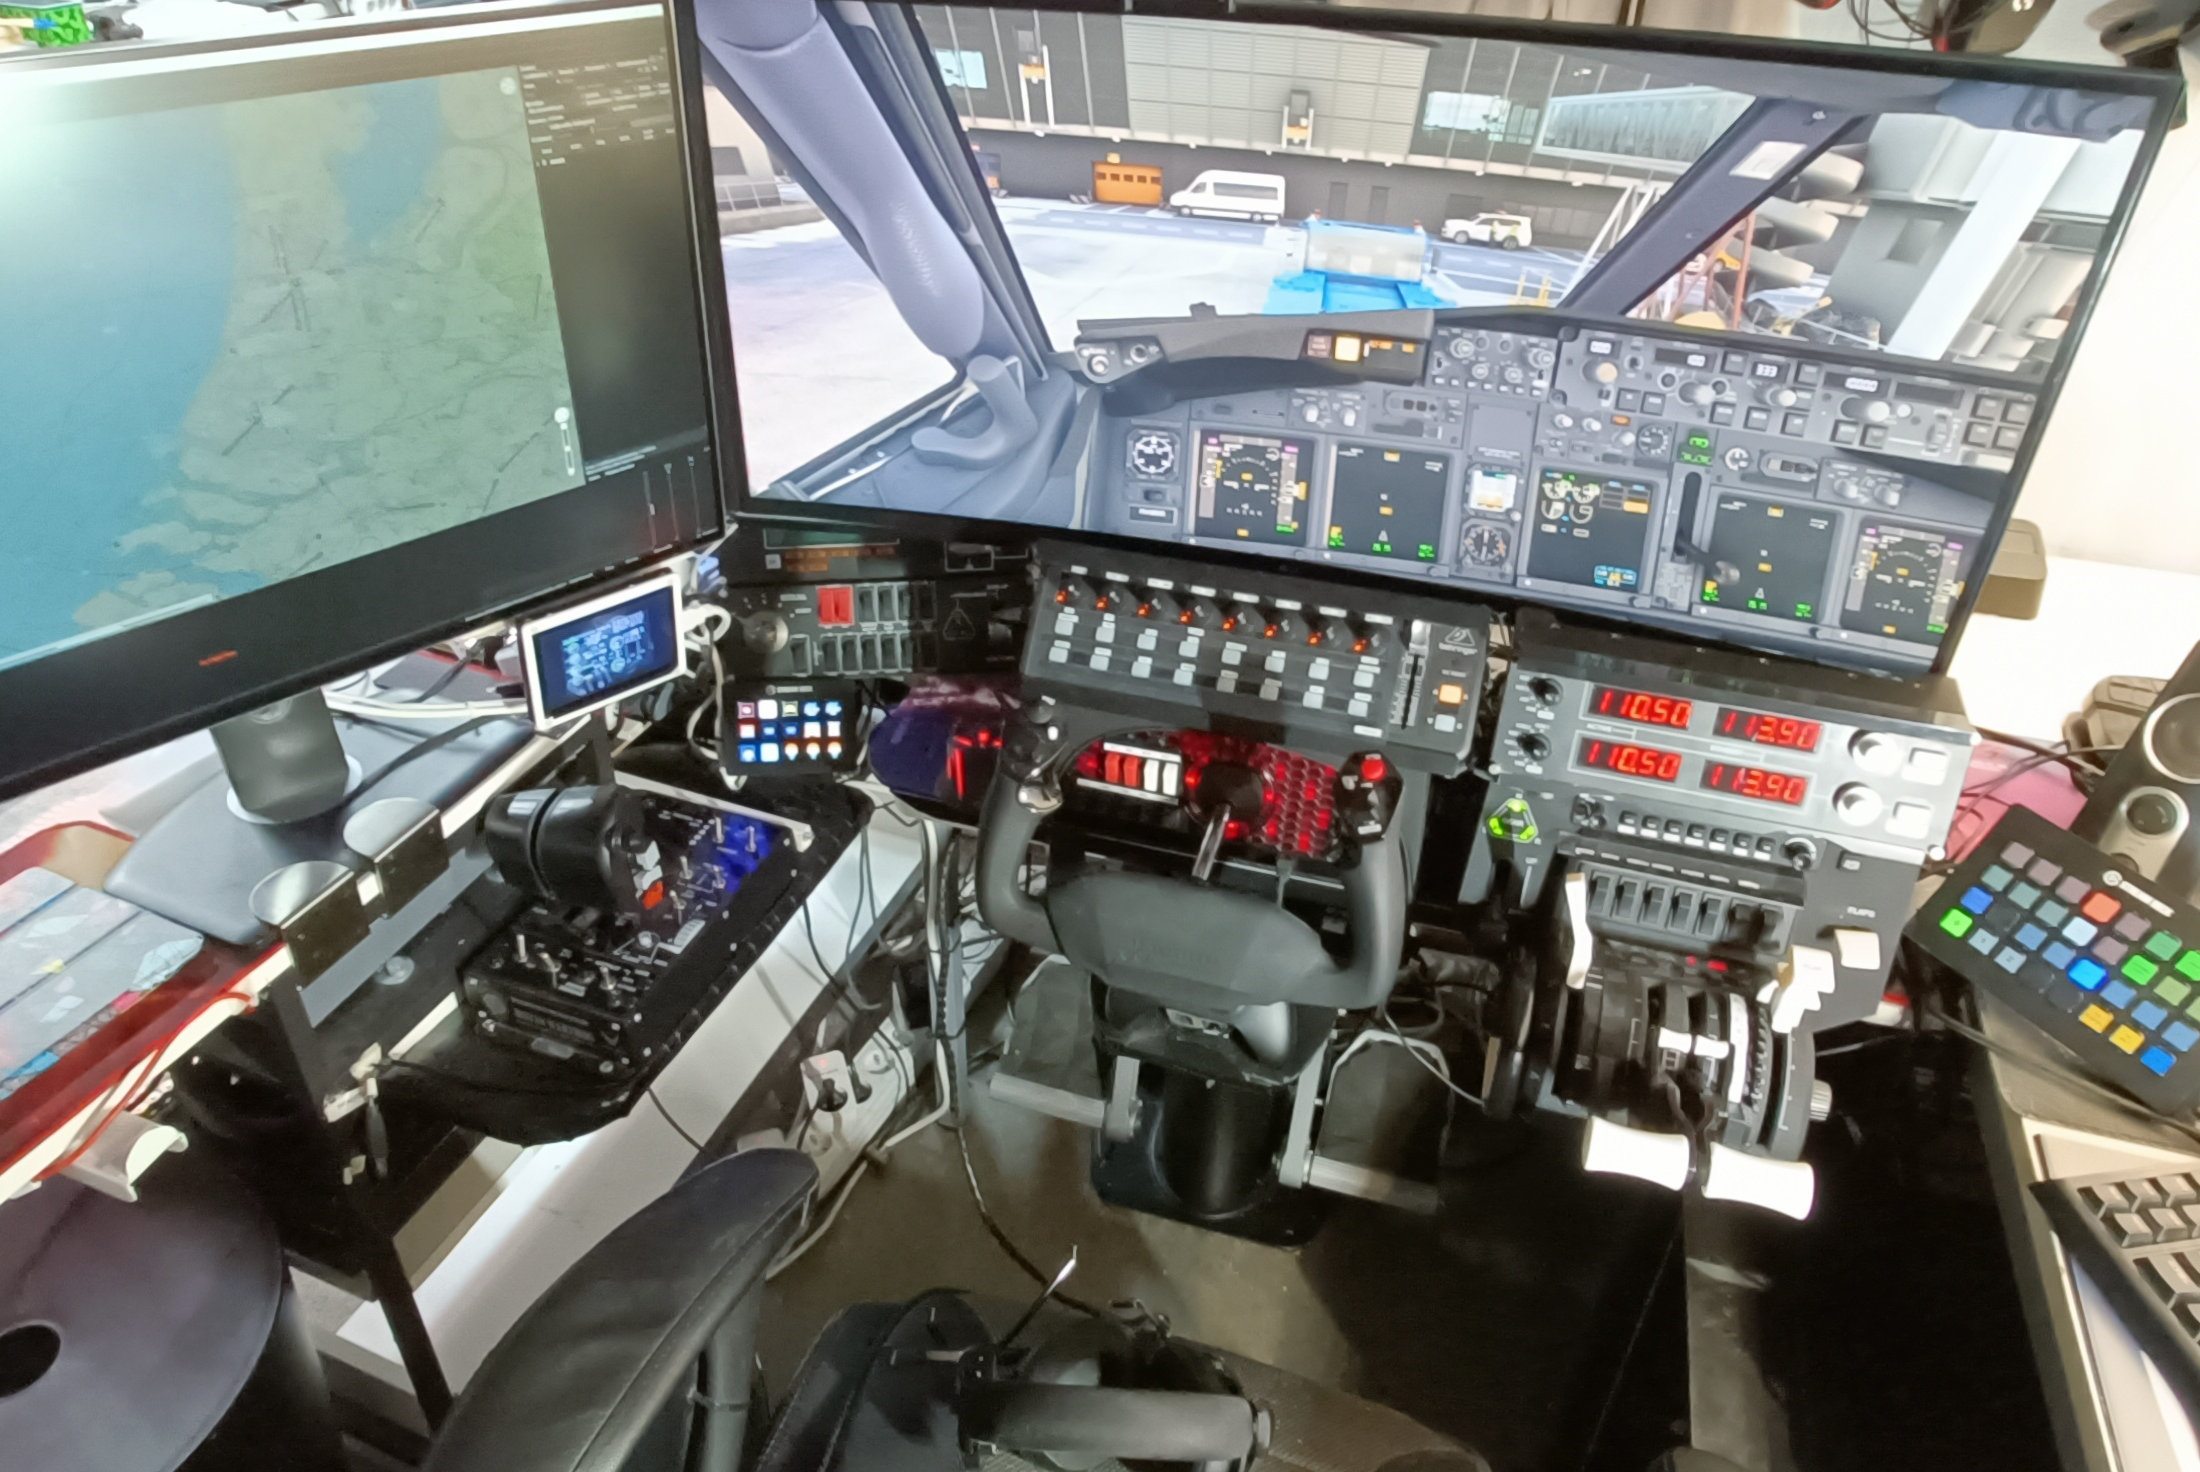
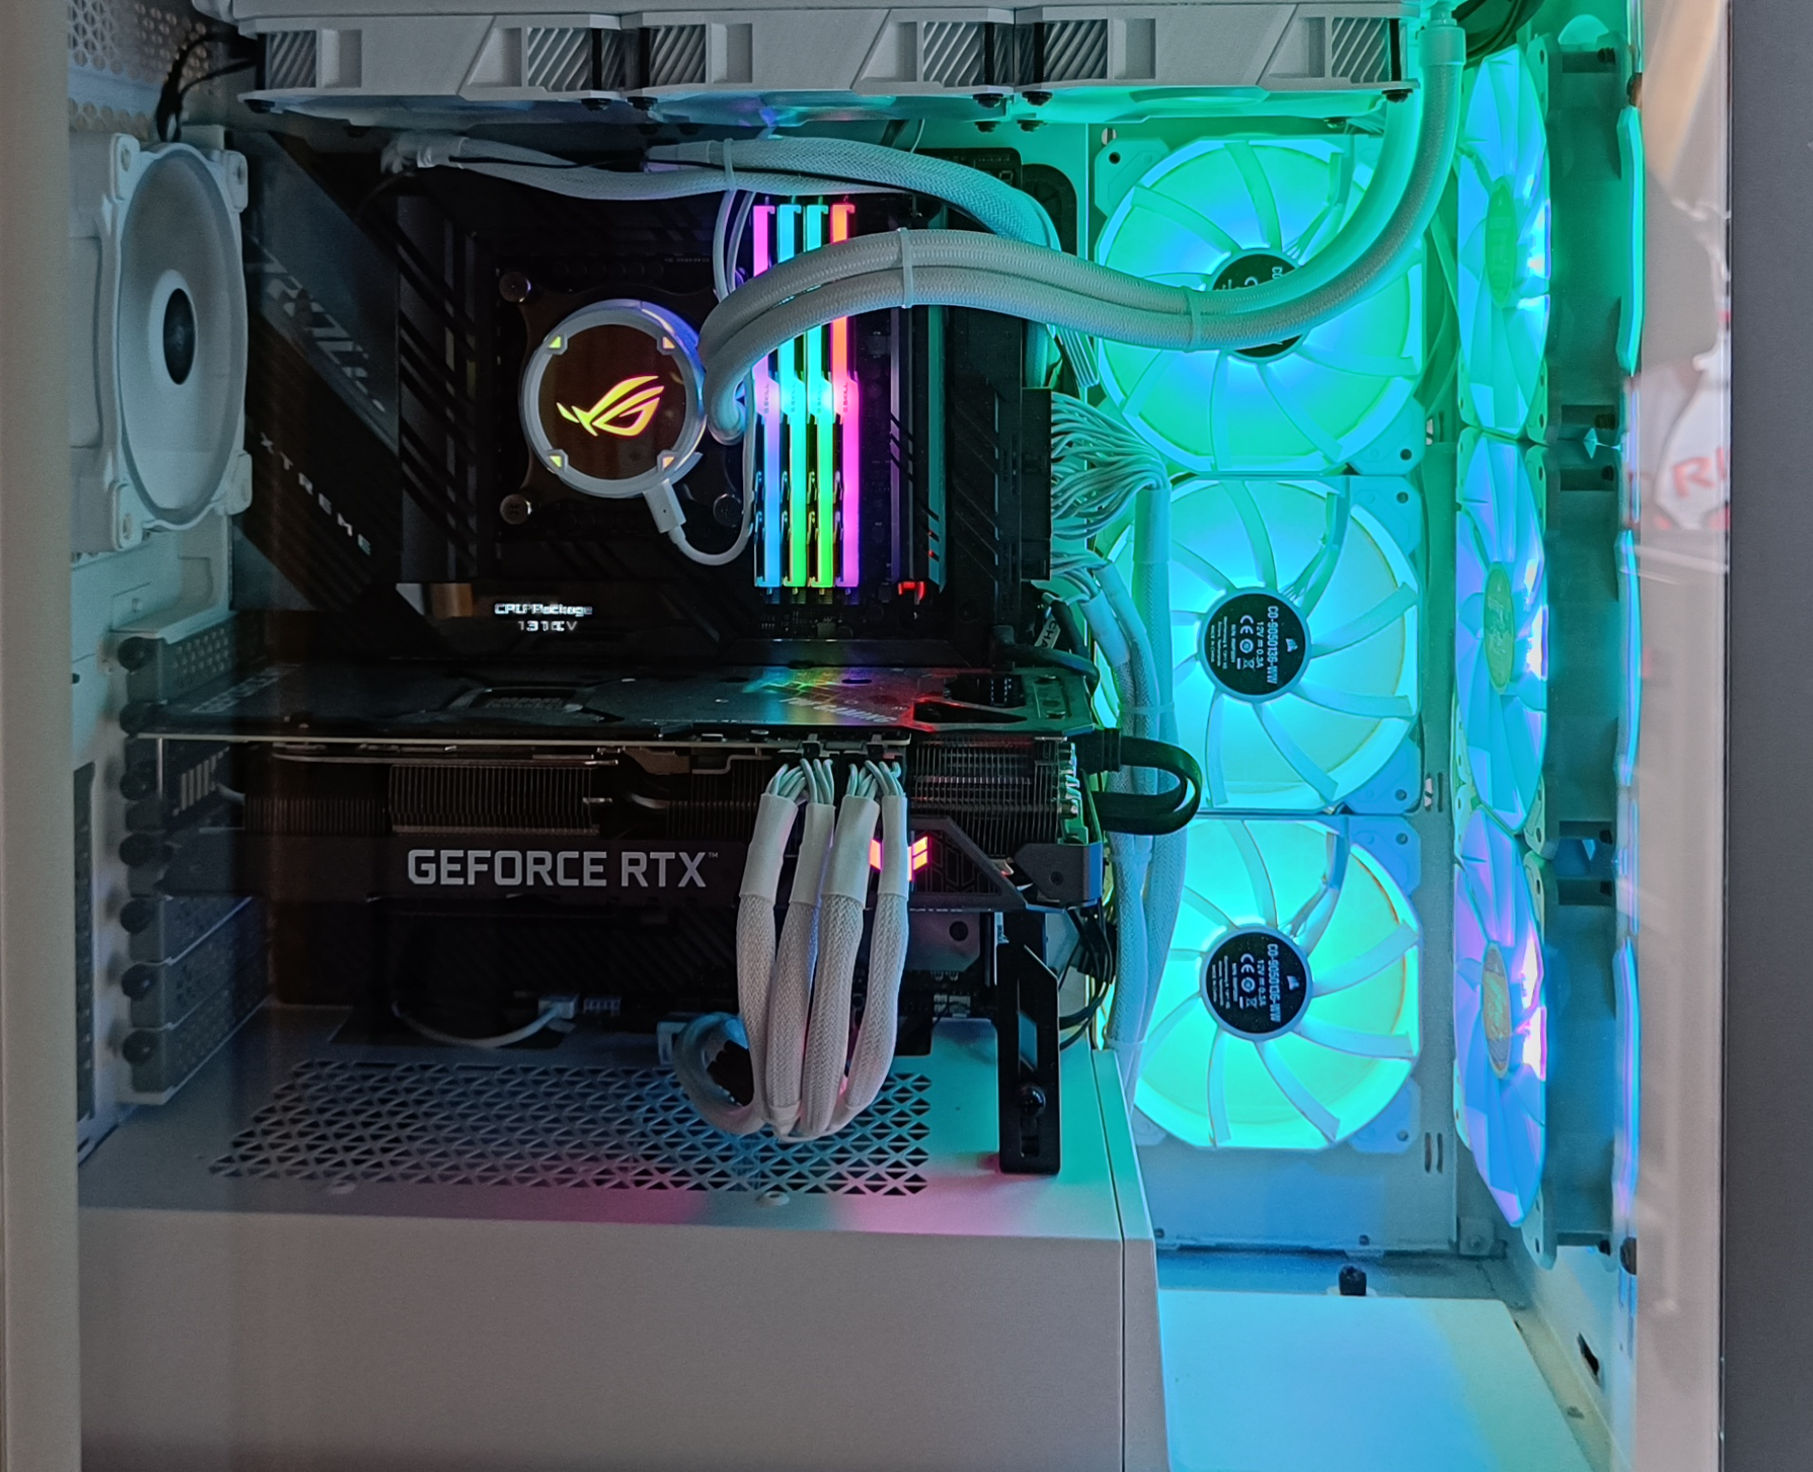 A fast PC is important because a VR environment need a lot of graphical power. A lot of this power will transform in heat so cooling of your CPU, main board and GPU card is really important! In my PC I have 13 controlled fans and a water cooling for the CPU. The Maximus XIII Extreme motherboard based on the Intel Z590 chipset, and is loaded with the latest and greatest ROG features. The Intel Core i9-11900K @ 3.4 GHz processor capable of achieving stable overclocks of 5GHz. 32 Mb G. Skill DDR4-3600 SDRAM and Samsung PRO M.2 Pcie 4 SSD's are completing the main board. Important for the VR experience is the Graphics Card. End last year I have upgraded to a ASUS ROG Strix GeForce GTX 3080Ti TUF 11GB card. Compared to the founders edition from Nvidia this product has improved on performance with roughly a 3% to 5% average, it has low noise levels and nice cooling levels To control Airplanes and Helicopters in VR I was using Trustmaster T.16000M FCS HOTAS joystick and Throttle together with the TFRP T.Flight Rudder Pedals, but then I switched to the Trustmaster HOTAS Warthog Stick and Throttle and Trustmaster Pendular pedals. Now I'am using the Honeycomb Apha Yoke af Bravo Throttes and I am very satisfied with this upgrade. The controllability improved considerably. See the new Photo's on the bottom of this page.
 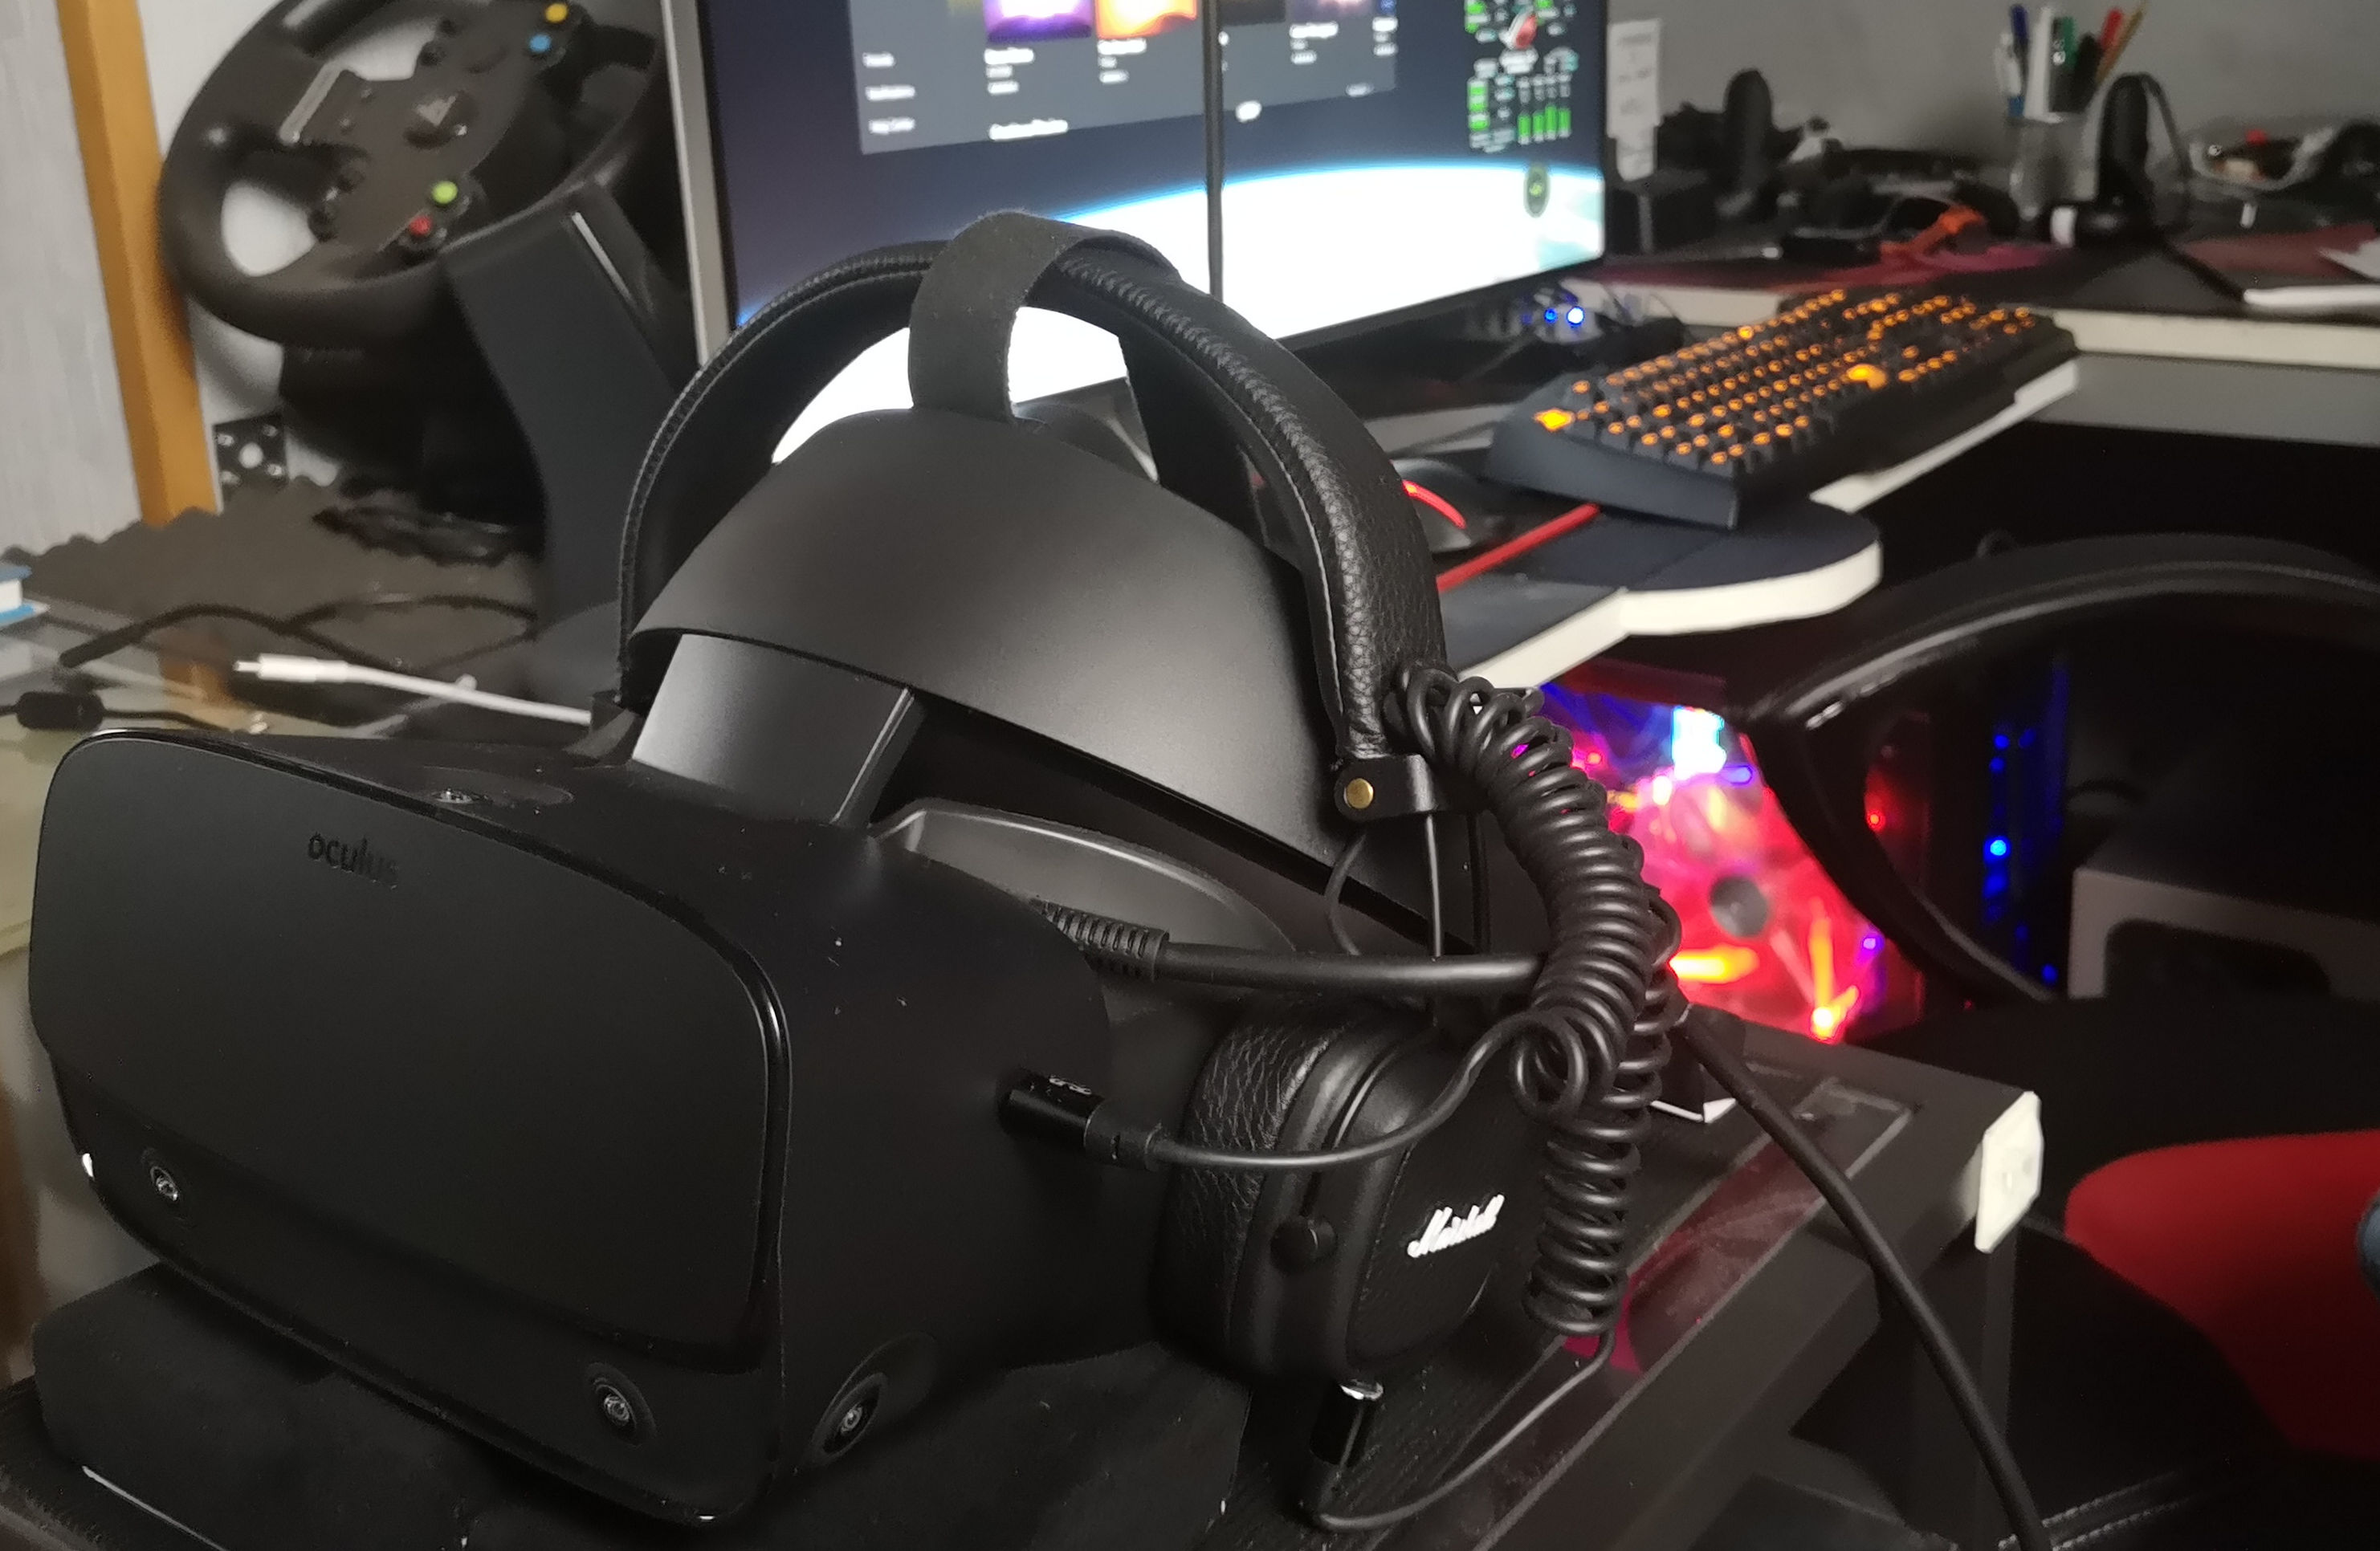 I started exploring VR some two years ago with the Oculus Rift. Then I upgraded to the Oculus Rift S and now I'm using the HP Reverb G2. For me the quality improvement is worth the upgrade price. There is less Screen Door effect and also very little Halo,Glare, Flare with the new Lenses. The inside out Tracking is easy and works well when you have other Input Devices nearby. The Halo-Style Headband is very comfortable. Instead of the low quality Hidden Speakers in the Headband I'm using a Marshall Major III headphone direct connected in the mini jack output on the VR Headset and connected with a very short cable. These small but qualitative Headphones are fitting perfect. The VR sound is send to Rift output and to a soundcard output connect to subwoofer with the AuraSound AST-2B-4 Pro Bass Shaker Tactile Transducer mounted under my chair. This sound experience (with Simshaker software ) makes the VR Immersion even better.
Simulation Software
Microsoft Flight Simulator 2020: https://www.flightsimulator.com/ Youtube: https://youtu.be/l_F20n8BwME
AeroFly FS2: www.aerofly.com/ Youtube: watch?v=FhzIGh5oRYc
Digital Combat Simulator: www.digitalcombatsimulator.com/en/ Youtube: watch?v=y0zMt1pc6Bc
Videos
Flying in MSFS2020 EBAW Antwerp Airport and surroundings
Flying in MSFS2020 EBAW Evening Tour around Antwerp
Flying in DCS with Mustang at Las Vegas
Flying in DCS with Spitfire MKIX at Normandy
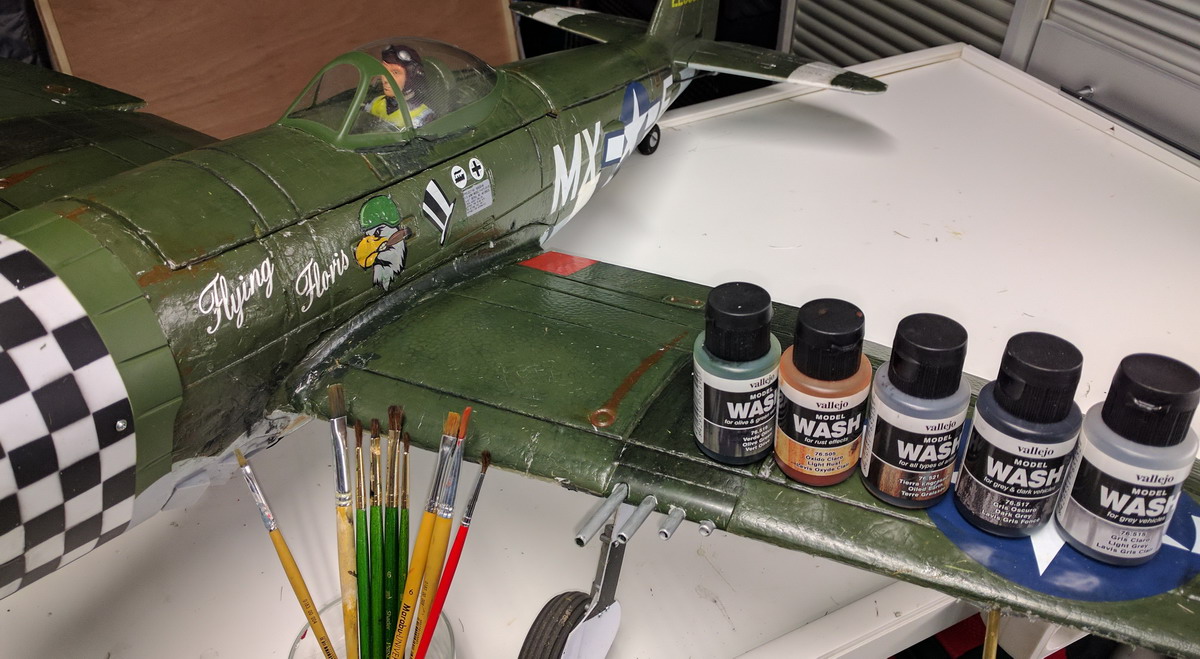
Photos